Dismantling The Front Wheel & Folk Assembly
You may want to do this while the front folk assembly is still attached to the frame, but I prefer to do it with the front folk assemble laying on the floor or work bench.
First to remove the Fork Shrouds from the Upper Folk Legs. A diagram of this can be found on page 57 of the Haynes manual.
Undo the two bolts the hold the Fork Shrouds to the Bottom Yoke Assembly.
The folk shrouds and the lower yoke assembly should now slide off the two upper fold legs (they may need a bit of persuasion).
The lower yoke assembly should then slide out of the folk shrouds.
Undo the two bolts the hold the Fork Shrouds to the Bottom Yoke Assembly.
The folk shrouds and the lower yoke assembly should now slide off the two upper fold legs (they may need a bit of persuasion).
The lower yoke assembly should then slide out of the folk shrouds.
Now undo the four bolts the hold the headlamp nacelle to the fork shrouds.
The ones on mine had rusted solid so I had to drill them out.
The ones on mine had rusted solid so I had to drill them out.
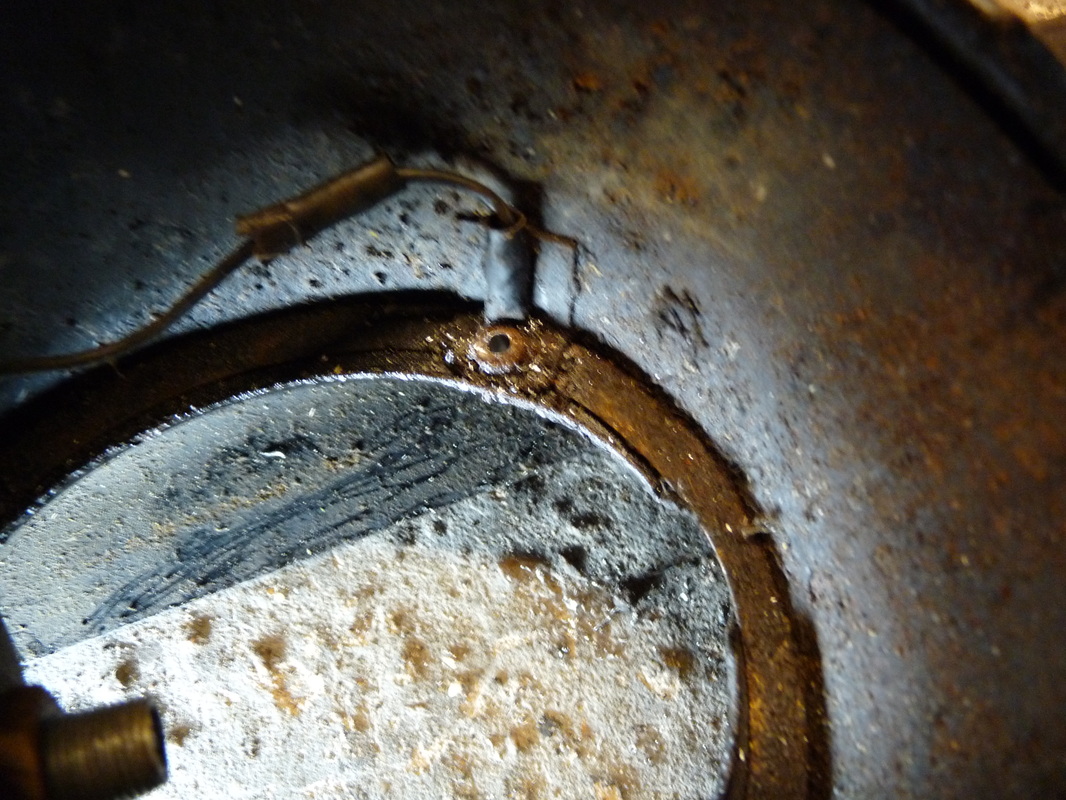
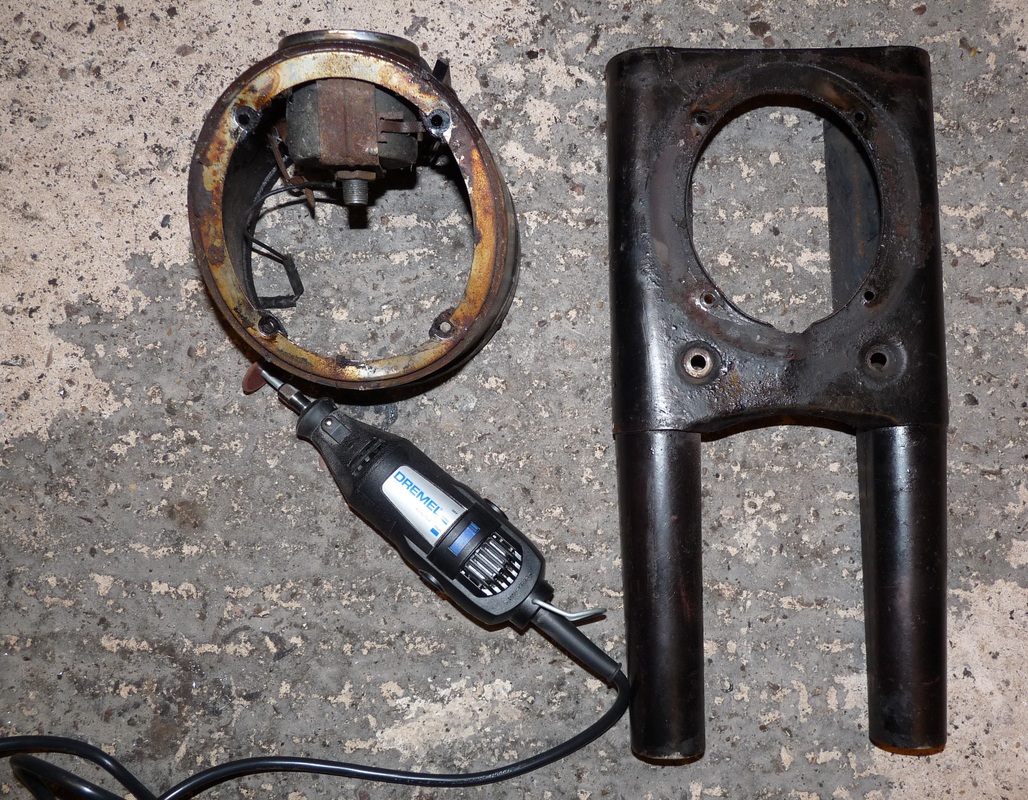
I could not access the two nuts at the top so I used a Dremal rotary tool to cut and grind the nut off.
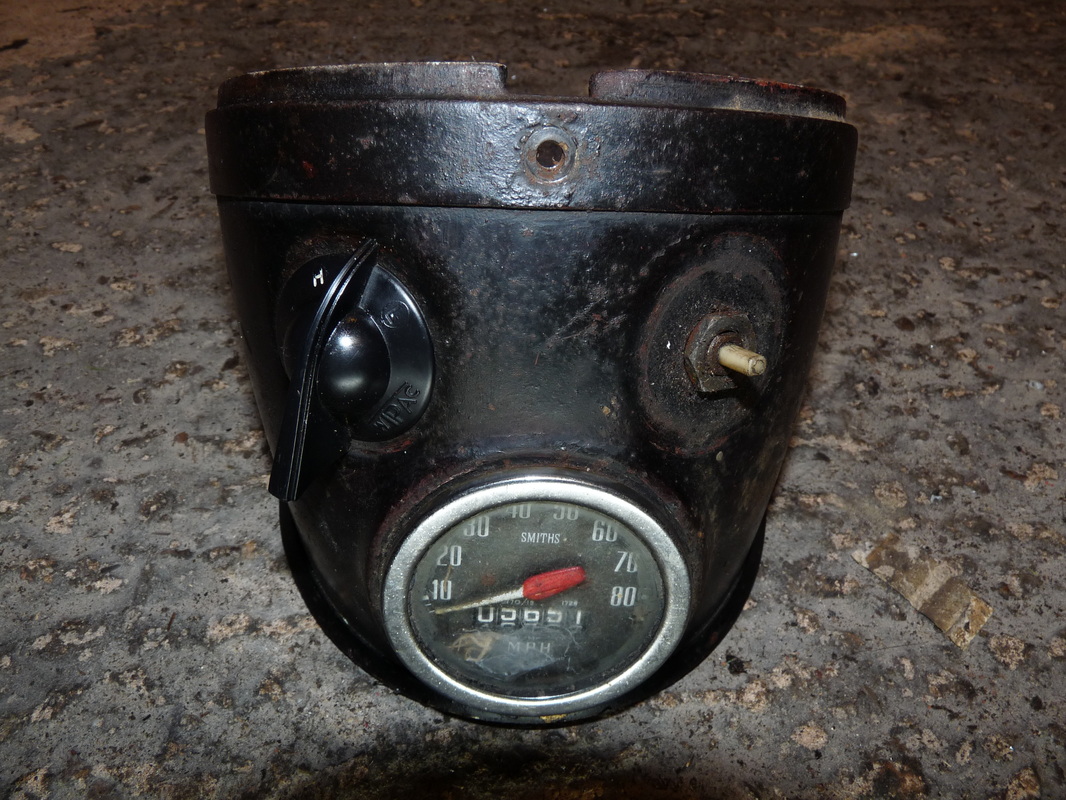
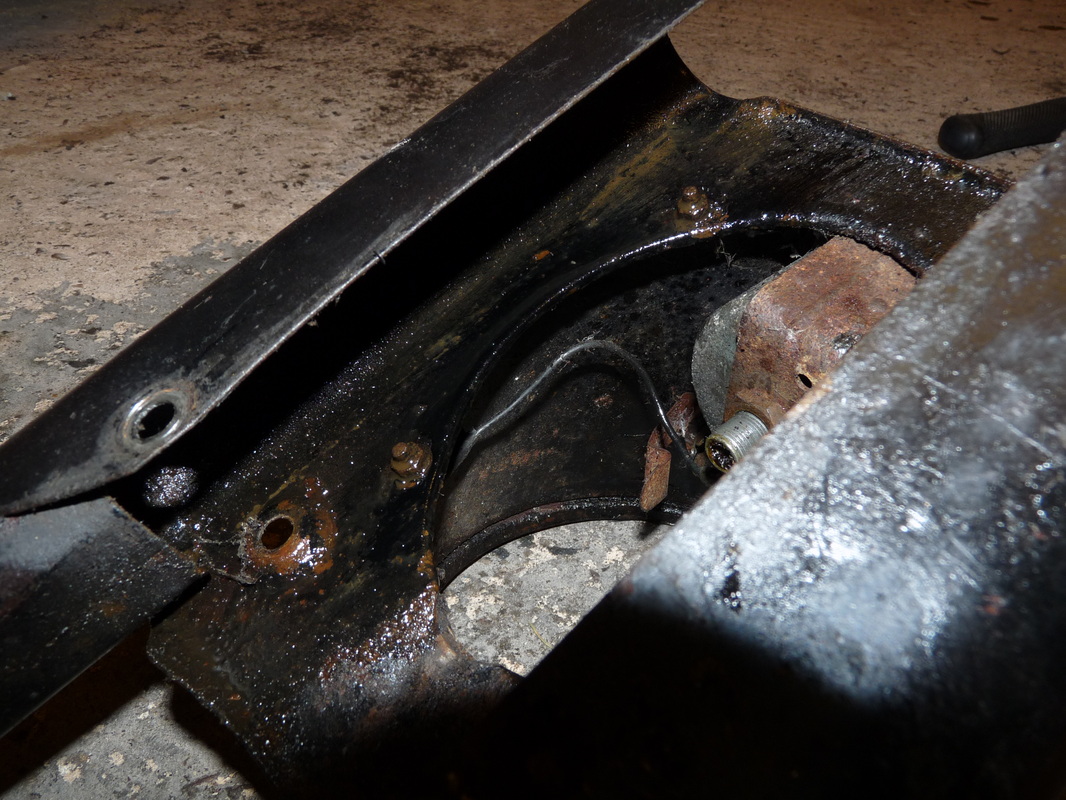
Now to remove the two switches from the headlamp nacelle.
Simply pull the black part of the switch off and undo the nut underneath, with a 15mm socket (SAE size 19/32), and the switch should drop out.
Simply pull the black part of the switch off and undo the nut underneath, with a 15mm socket (SAE size 19/32), and the switch should drop out.

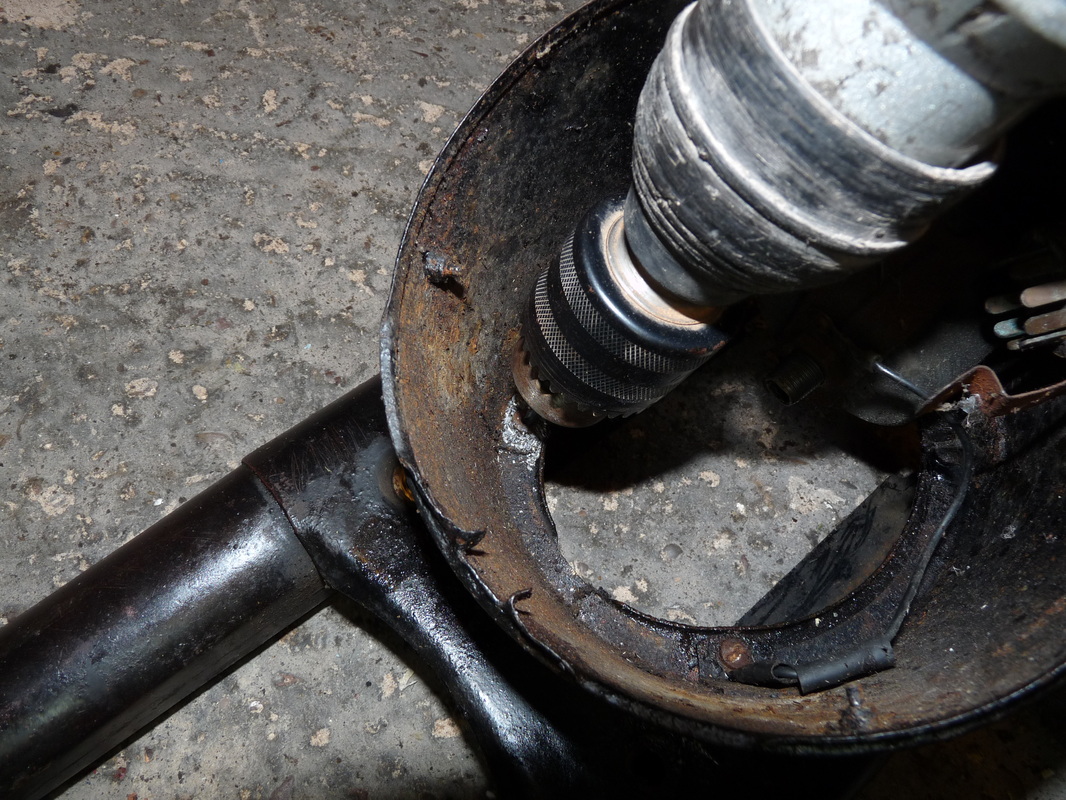
Now, using a 19mm socket (SAE size 3/4), undo the nut that holds the speed dial in place.
Slide it out and put it in a bag with the other 2 switches.
We're now done with the headlamp nacelle and can turn our attention back to the upper folk legs.
Slide it out and put it in a bag with the other 2 switches.
We're now done with the headlamp nacelle and can turn our attention back to the upper folk legs.
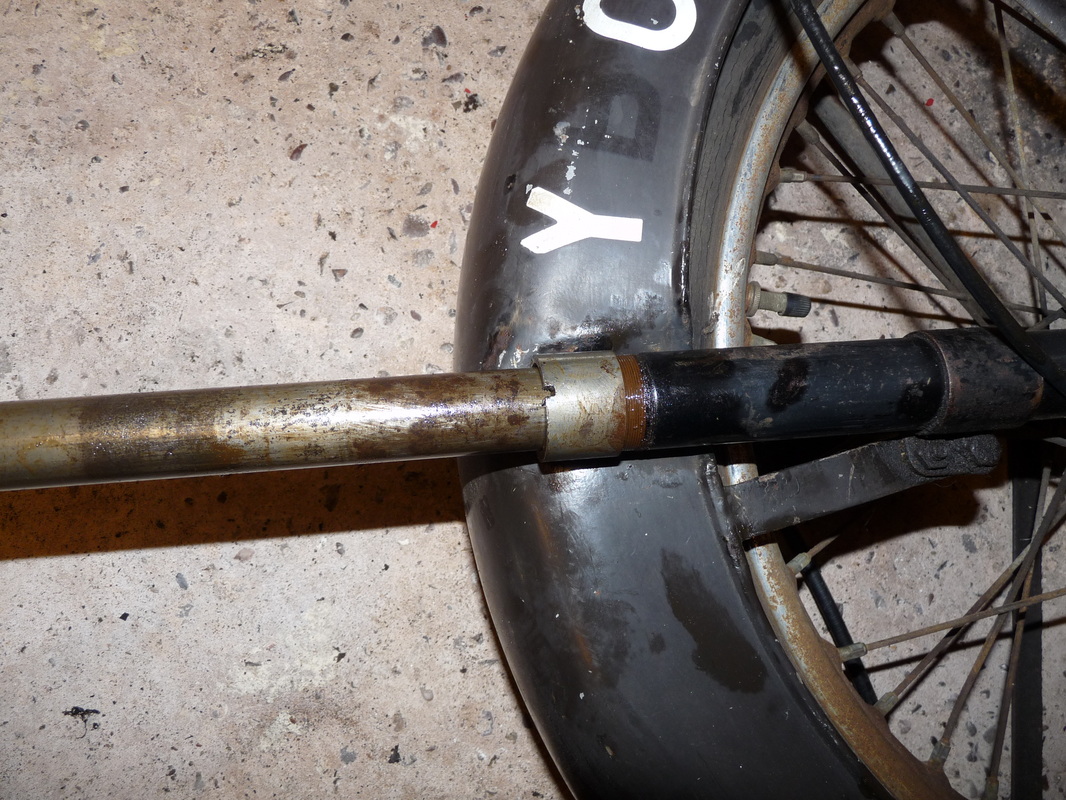
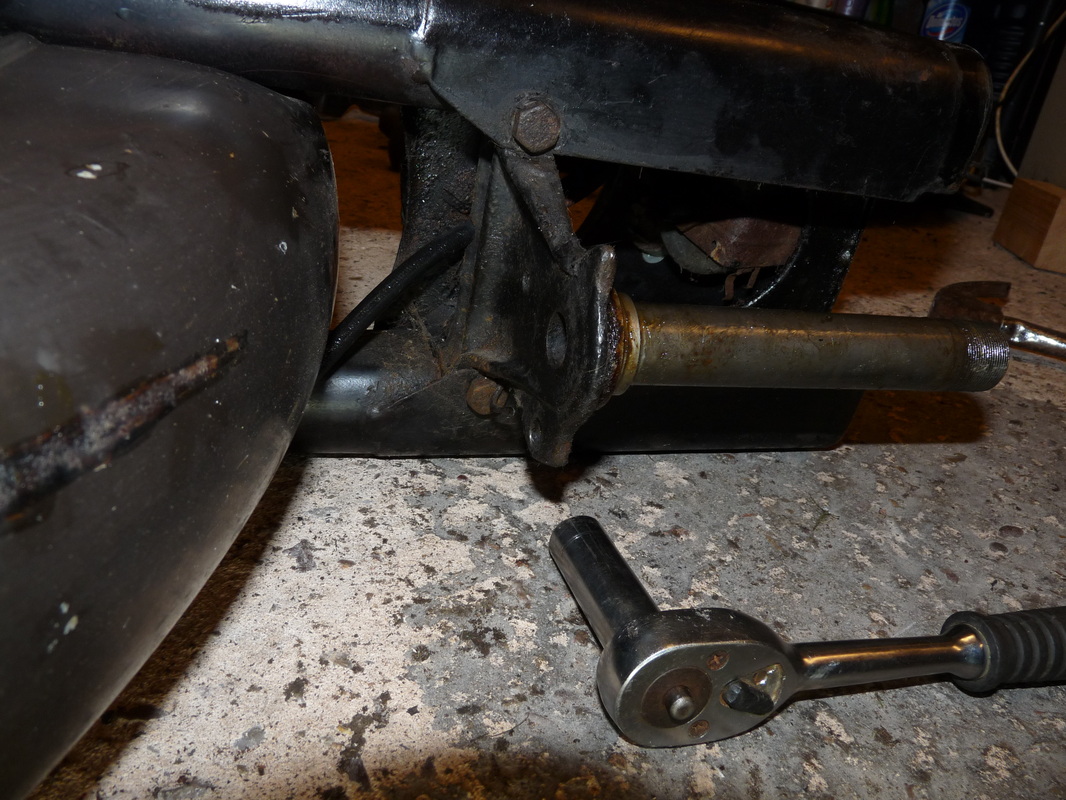
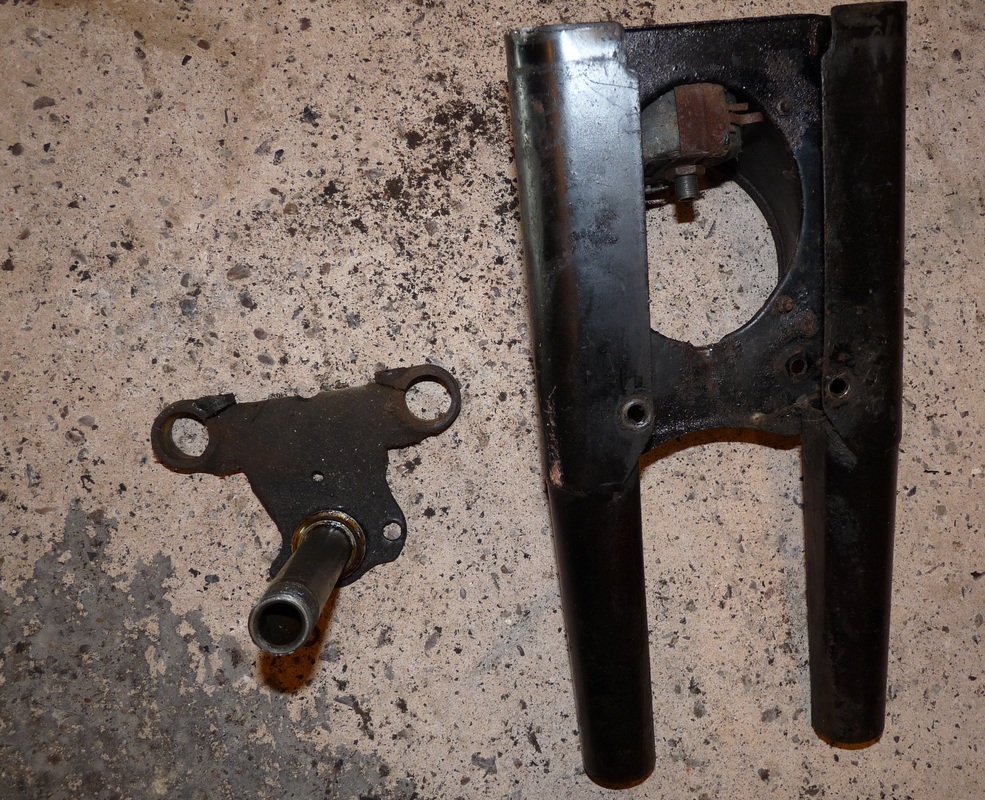
To remove the upper folk leg from the lower fold leg undo the nut with a C spanner. Mine still hasn't arrived so it was another hammer and screwdriver job.
Once it's undone, slide it out of the lower folk leg and put it to one side
Once it's undone, slide it out of the lower folk leg and put it to one side
Next to remove the front mud guard.
Undo the three bolts on either side the hold it to the lower folk leg, using a 12mm socket (SAE size 15/32).
The mud guard should just slide off now.
After the mud guard is off unscrew the other bolts on either side on the wheel, where there mud guard was attached to the lower folk arm at the center of the wheel. Put it to one side and bah up the bolts.

Removing the front break cable.
You might want to do this earlier if it is more convenient for you.
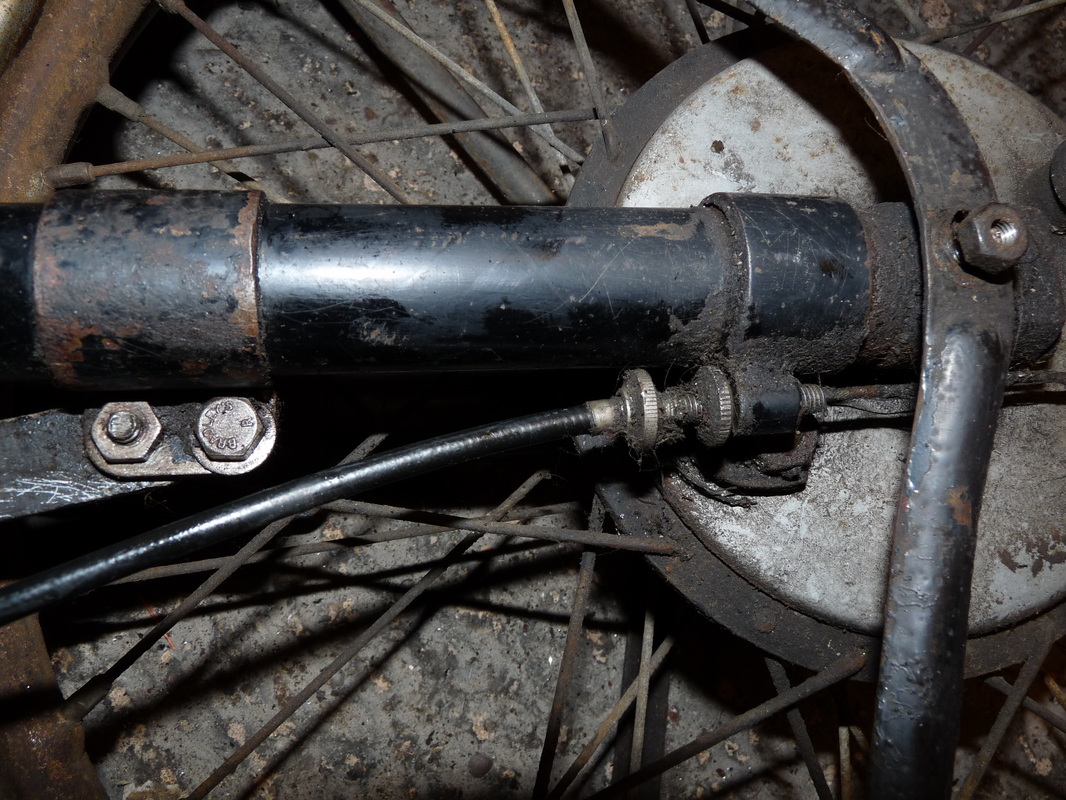
Using a flat headed screwdriver, undo the screw that holds the U shamed connection to the break arm.
Also unscrew the break adjuster at the lower folk arm.
The break cable has to be slid through a slot in the break adjuster bracket to free it. Bag it up.
You might want to do this earlier if it is more convenient for you.
Using a flat headed screwdriver, undo the screw that holds the U shamed connection to the break arm.
Also unscrew the break adjuster at the lower folk arm.
The break cable has to be slid through a slot in the break adjuster bracket to free it. Bag it up.
Now remove the nut the holds the break adjuster bracket to the front break plate.
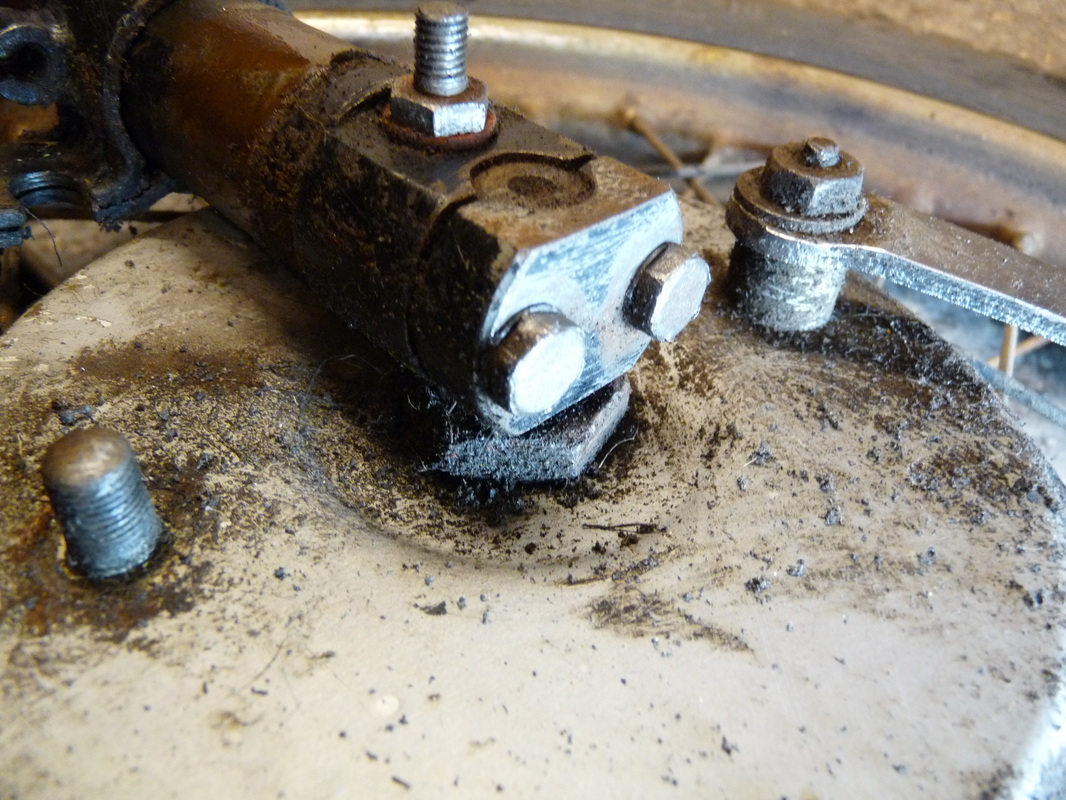
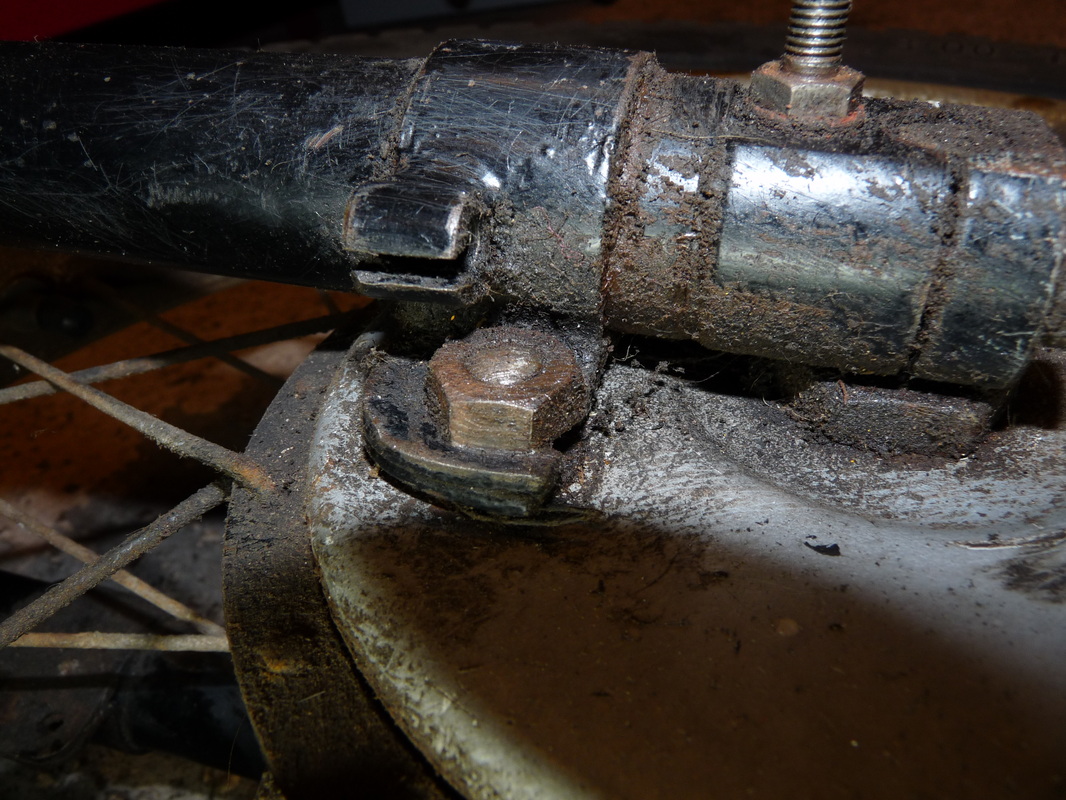
Now, using an 11mm socket (SAE size 7/16), undo the bolts at the bottom of the lower folk arm that secure the bracket that hold the folk arm to the spindle.
Do this for both sides of the wheel.
Put the four bolts, two brackets and the break adjuster bracket nut in a coin bag and label.
Do this for both sides of the wheel.
Put the four bolts, two brackets and the break adjuster bracket nut in a coin bag and label.
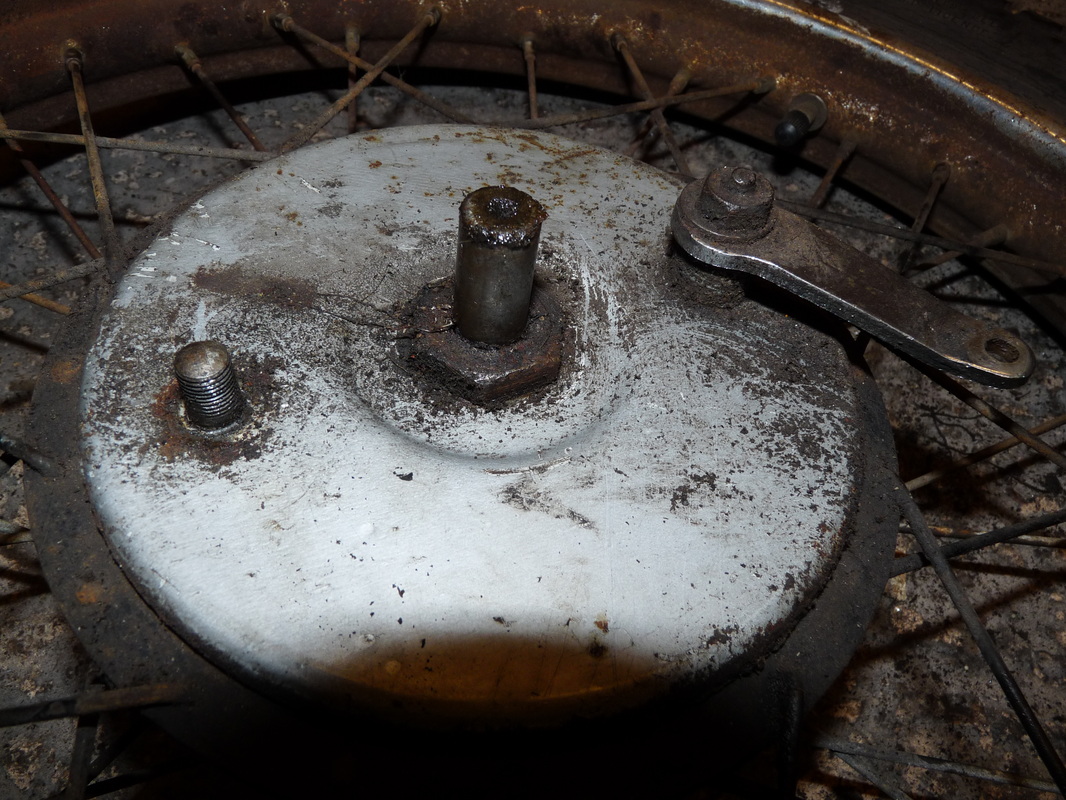
Remove the nut that holds the front break assembly to the spindle.
The front break assembly should now lift free.
Place it to one side for the time being. Don't forget to bag the nut.
The front break assembly should now lift free.
Place it to one side for the time being. Don't forget to bag the nut.
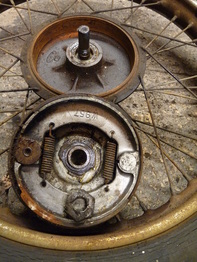
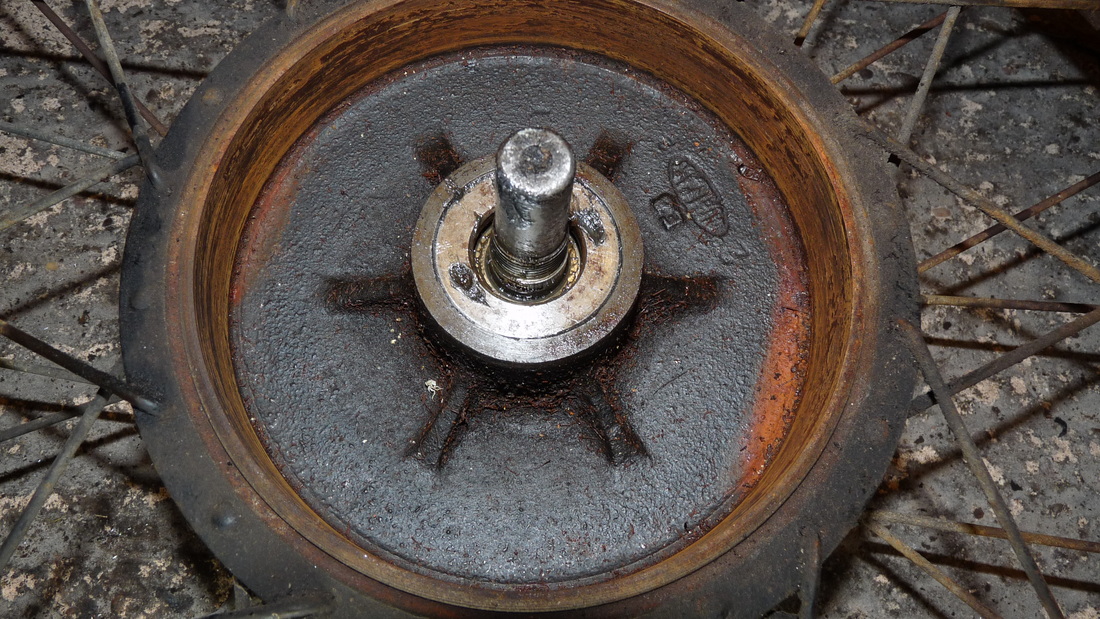
Next remove the bearing retainer.
This should be done with a peg spanner or by gently tapping it with a screwdriver and hammer.
The bearing retainer has a left hand thread (clockwise to loosen, anti-clockwise to tighten).
The bearing should now be exposed.
This should be done with a peg spanner or by gently tapping it with a screwdriver and hammer.
The bearing retainer has a left hand thread (clockwise to loosen, anti-clockwise to tighten).
The bearing should now be exposed.
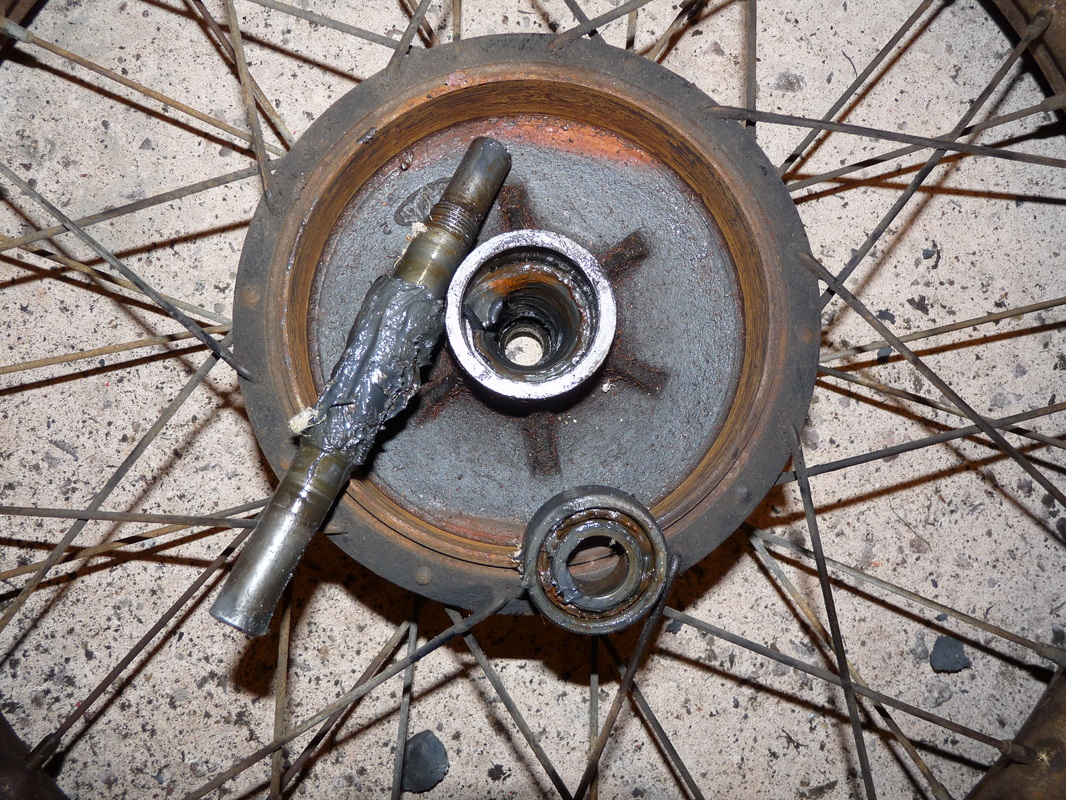
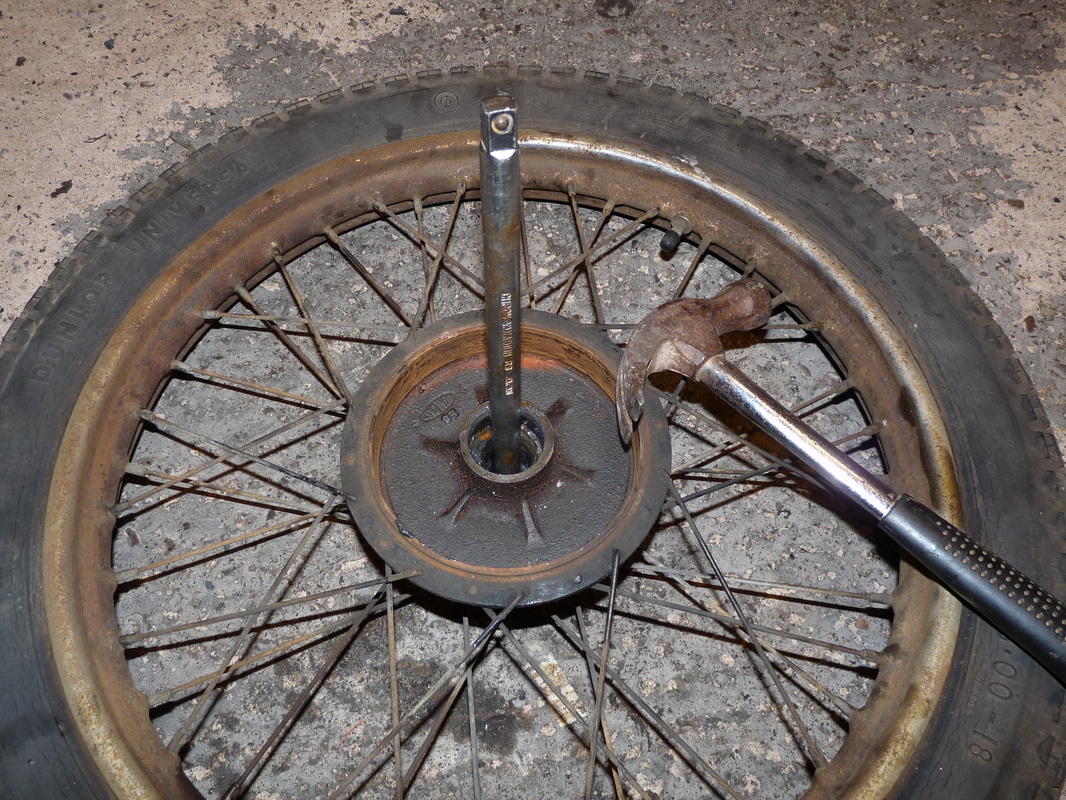
Now to remove the spindle.
Strike the left hand side of the spindle (opposite the break plate side) with a mallet.
The bearings are drive fit (jammed in there), so it will take a good whack and maybe heating the hub a little to get it out.
Strike the left hand side of the spindle (opposite the break plate side) with a mallet.
The bearings are drive fit (jammed in there), so it will take a good whack and maybe heating the hub a little to get it out.
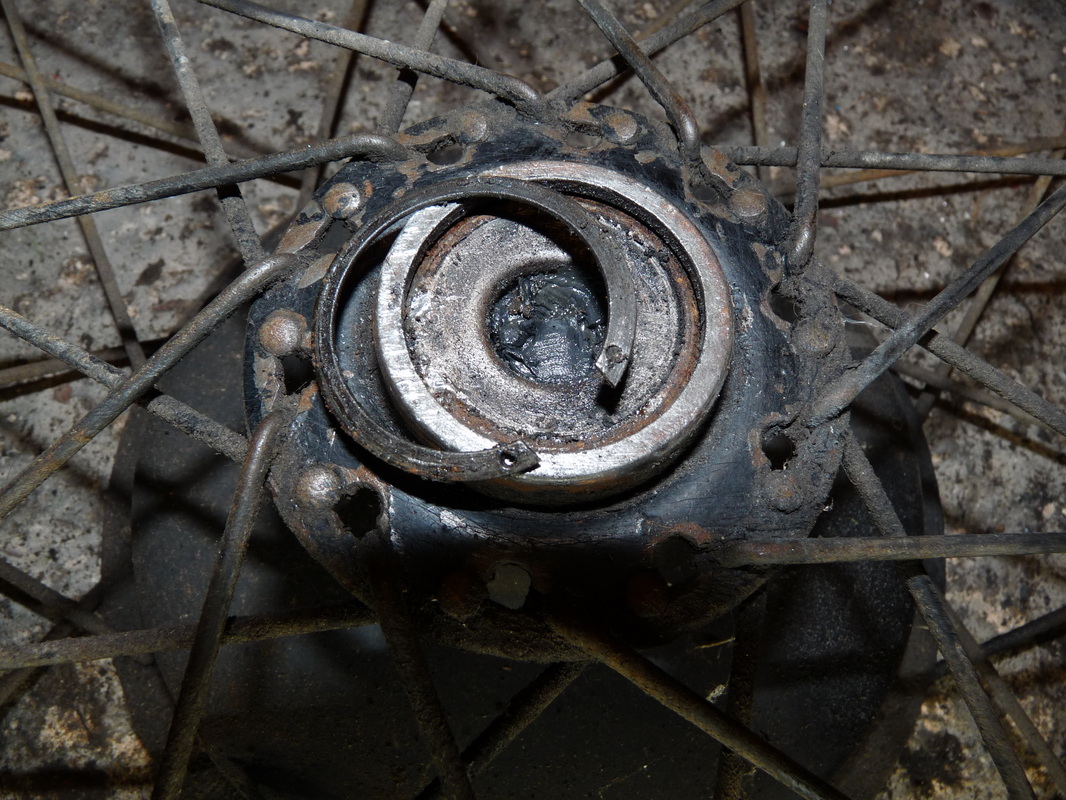
To remove the bearing from the left hand side you must first remove the circlip.
You might have to give it a bit of a brush with a wire brush to remove some of the crud.
The circlip is like a small collar that holds the dust cover in place. There is a gap in the circlip and two small holes on either side of the gap.
Poke something small into one of the holes and prize the circlip off.
Now turn the wheel over and slide a socket extender (or the spindle/similar object) through the wheel hub and drive the second bearing out.
Put the bearing retainer, circlip and dust cover in a bag.
We've finished dismantling the front wheel and front folk arm assembly.
Put the bearing retainer, circlip and dust cover in a bag.
We've finished dismantling the front wheel and front folk arm assembly.
