Engine Dismantle
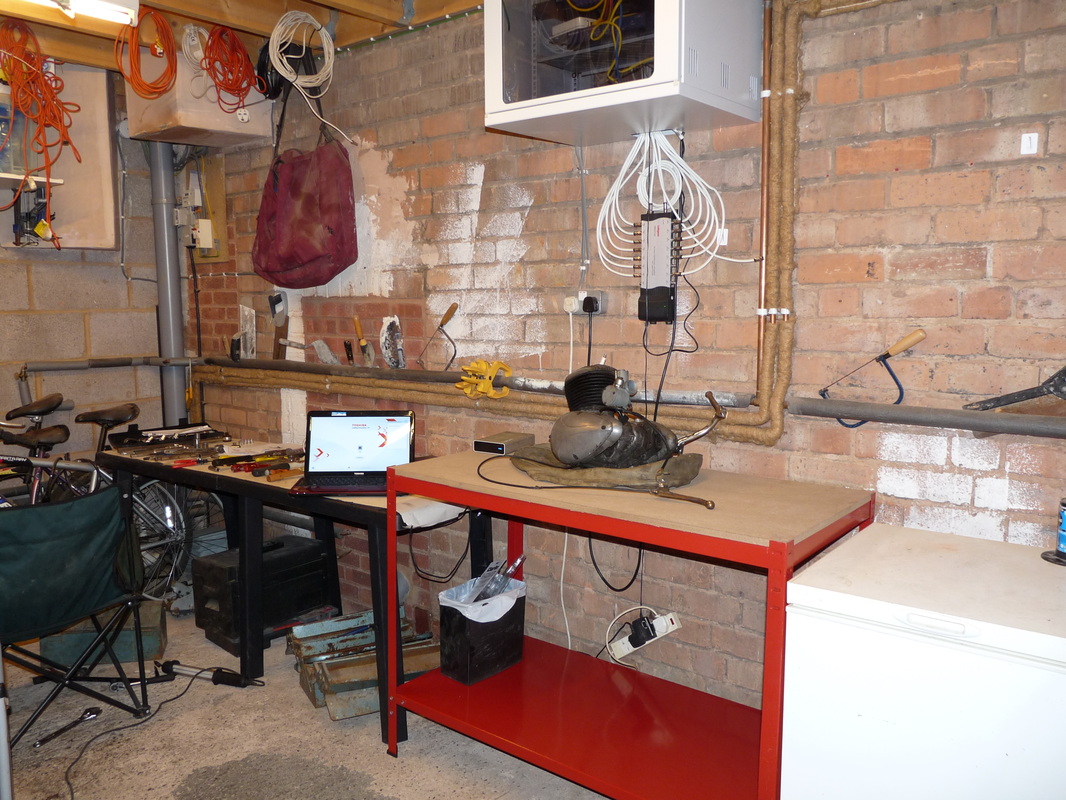
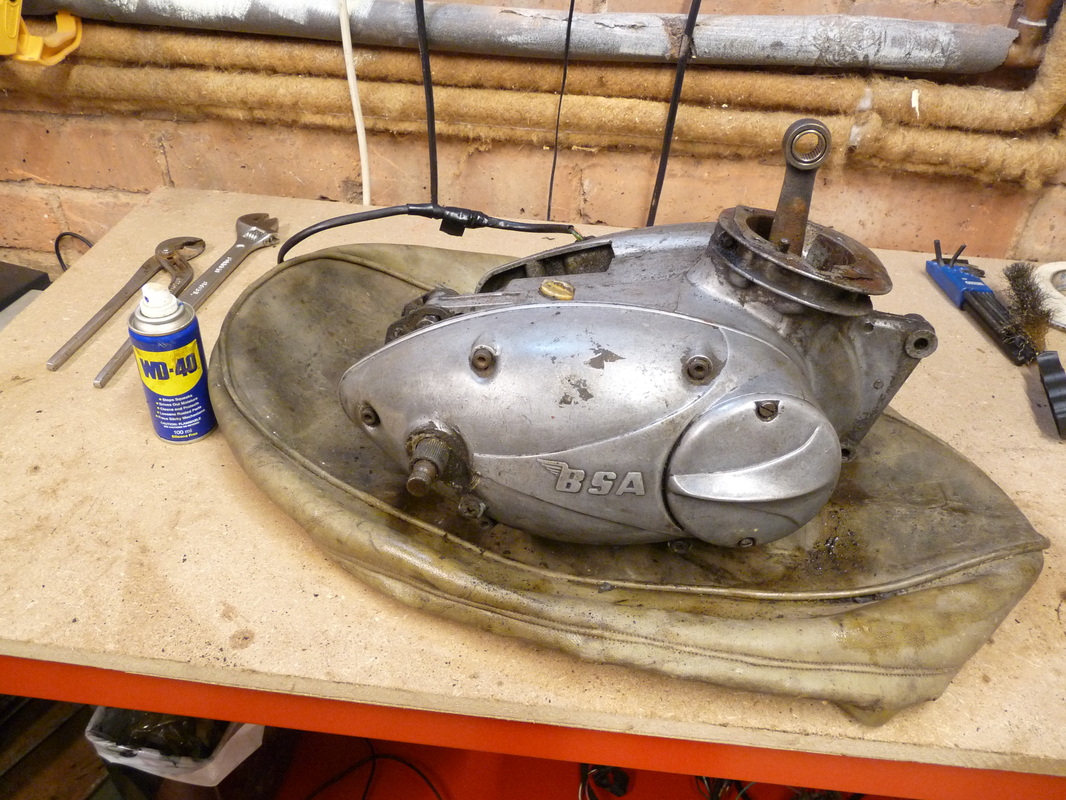
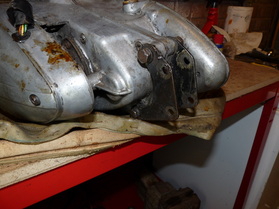
Now that my new work bench has arrived I can make a start on dismantling the engine. Not a bad work bench for £45 off ebay, clearance_centre_123 was the seller if your interested.
So, first thing's first.
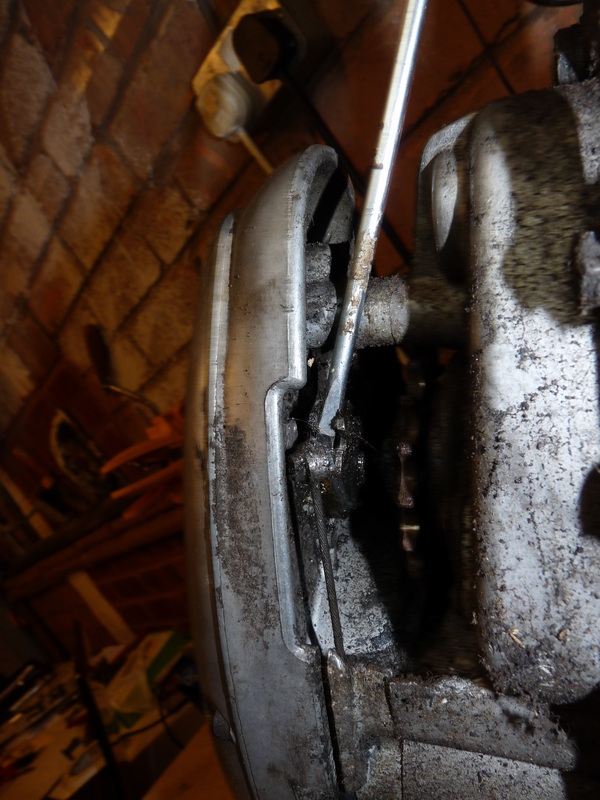
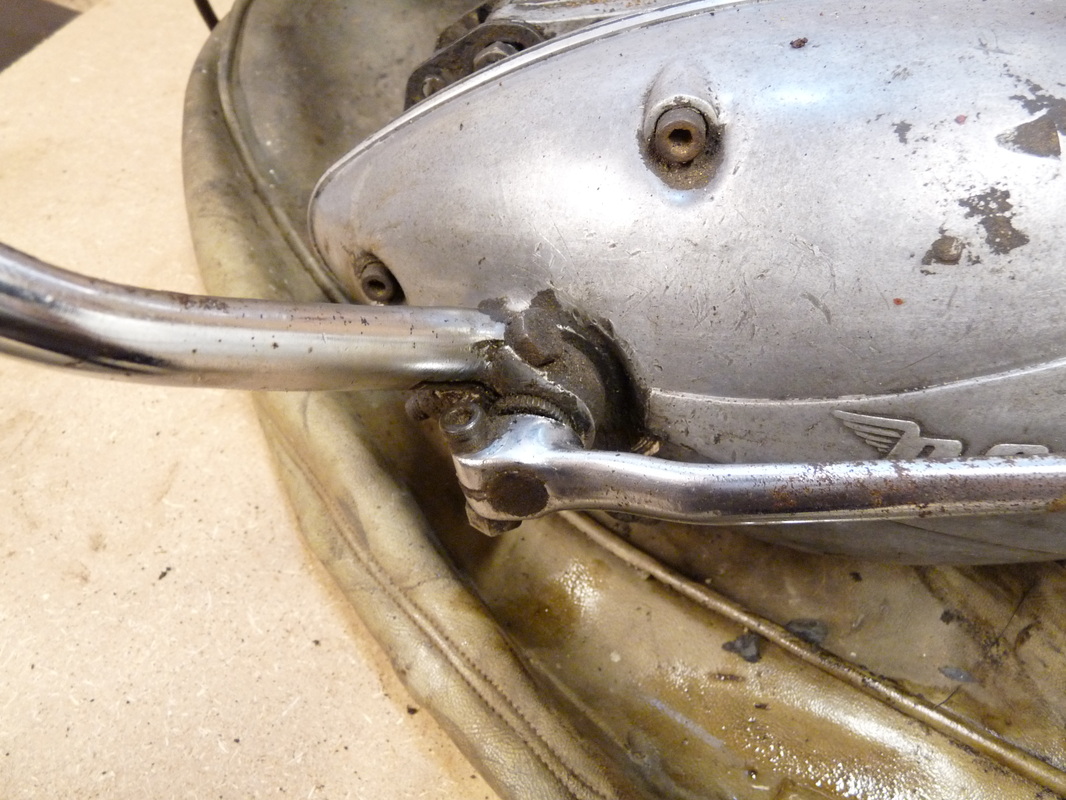
Remove the clutch cable from underneath the engine.
This is simply prized out with a screwdriver.
Pu the clutch cable to one side.
Remove the clutch cable from underneath the engine.
This is simply prized out with a screwdriver.
Pu the clutch cable to one side.
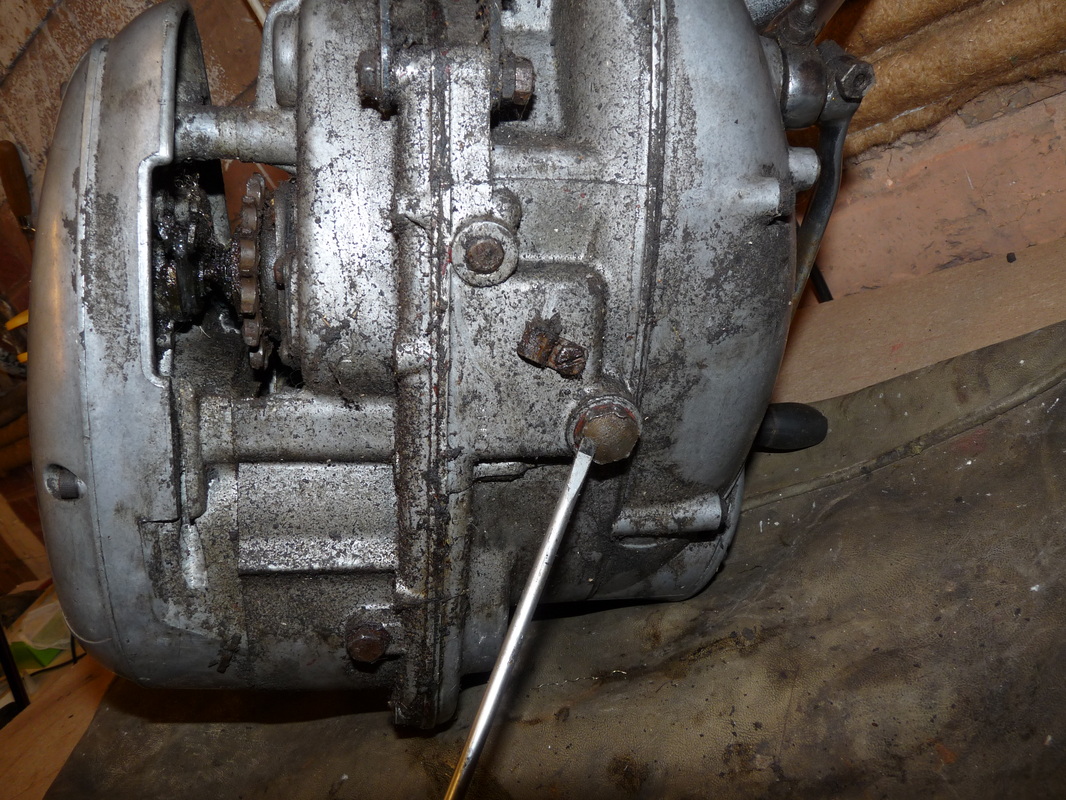
Undo the nut at the bottom of the engine with an 18mm socket (SAE size 11/16) and drain the oil into a margarine tub or something.
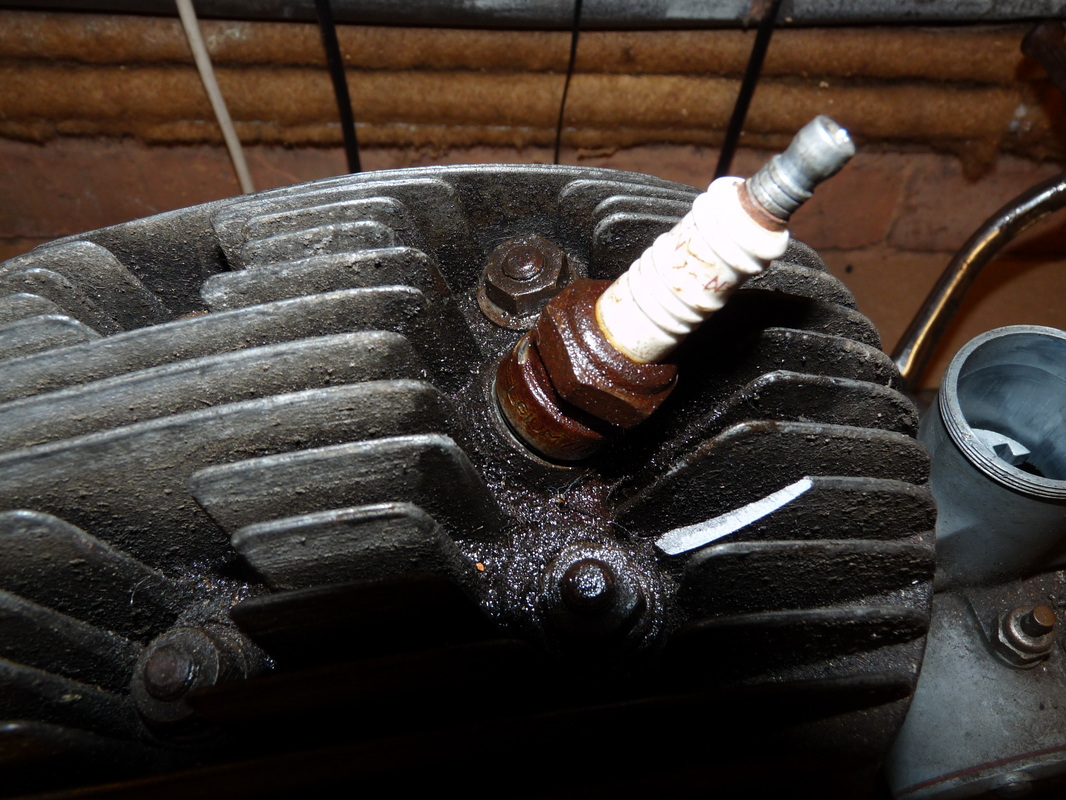
Unscrew the spark plug.
Mine was rusted on and I broke one of the fins on the cylinder head which made my day.
Mine was rusted on and I broke one of the fins on the cylinder head which made my day.
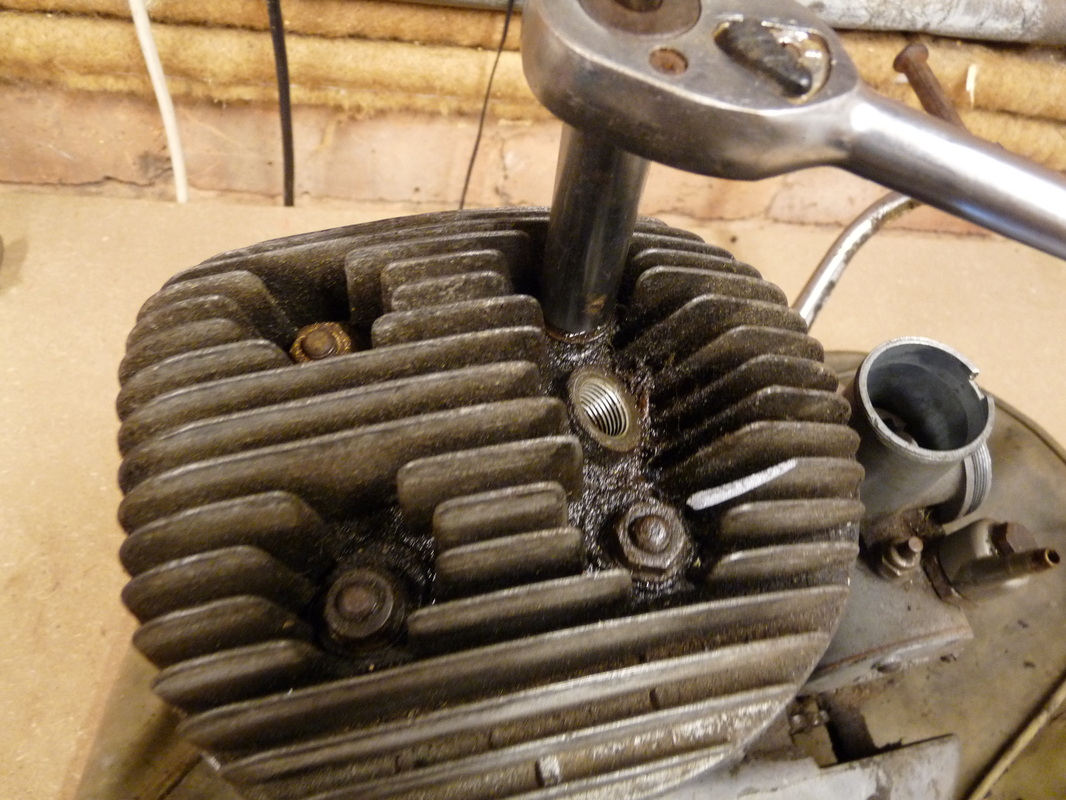
Now undo the four cylinder head nuts that hold the cylinder head in place using a 13mm socket (SAE size 17/32).
The cylinder hear should now slide off. It may need some gentle persuasion with a mallet, but do not prize it off.
Bag and label the nuts and washers.
The cylinder hear should now slide off. It may need some gentle persuasion with a mallet, but do not prize it off.
Bag and label the nuts and washers.
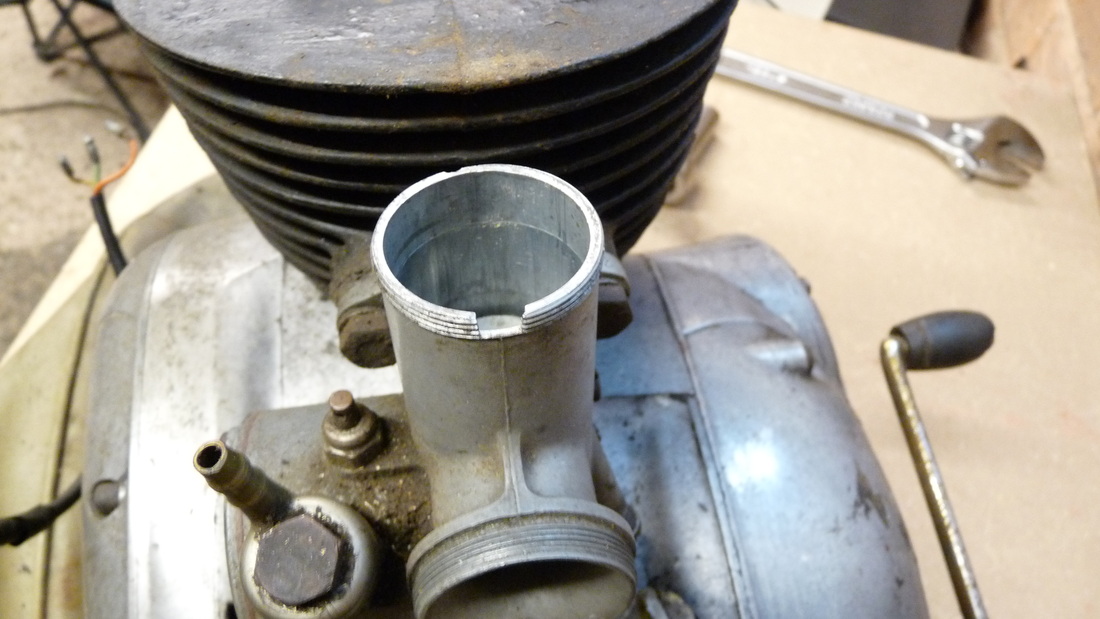
Now undo the two bolts that hold that carburetor to the cylinder barrel.
Bag and label the nuts and put the carburetor to one side for now.
Bag and label the nuts and put the carburetor to one side for now.
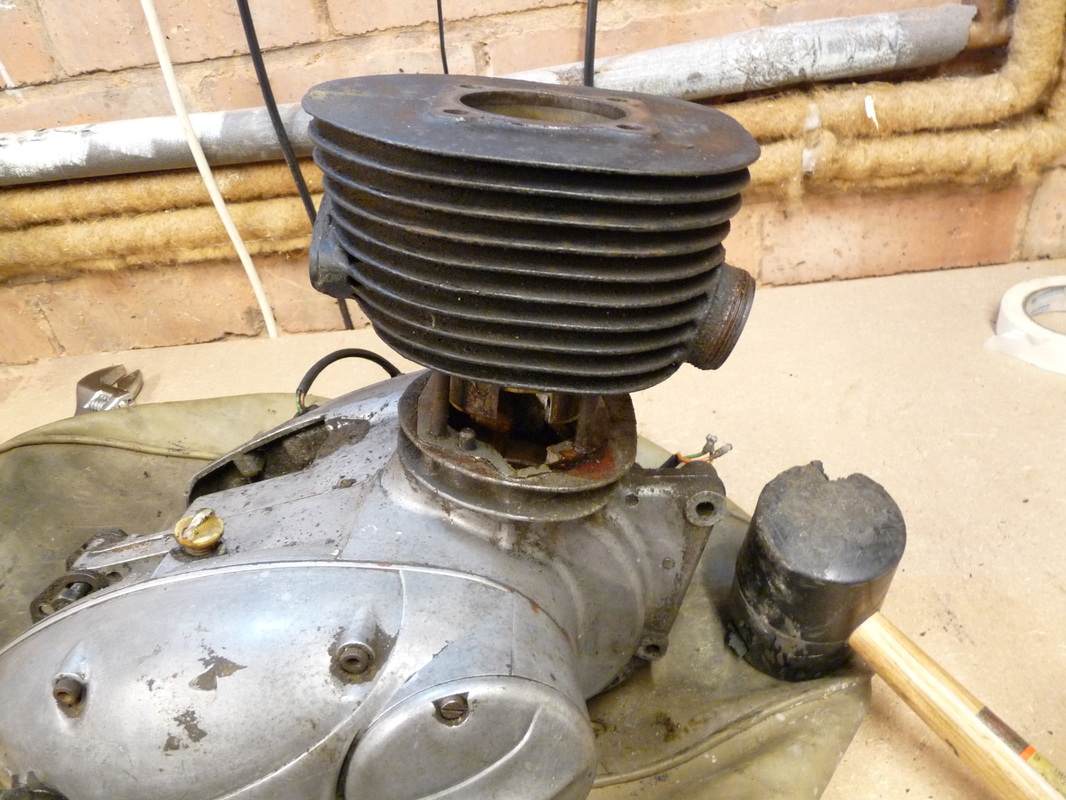
Now remove the cylinder barrel by gently tapping it with a mallet.
Do not leaver or prize it off as this could damage.
This will take a degree of patience and a can or WD 40.
Put the cylinder barrel to one side for now.
Do not leaver or prize it off as this could damage.
This will take a degree of patience and a can or WD 40.
Put the cylinder barrel to one side for now.
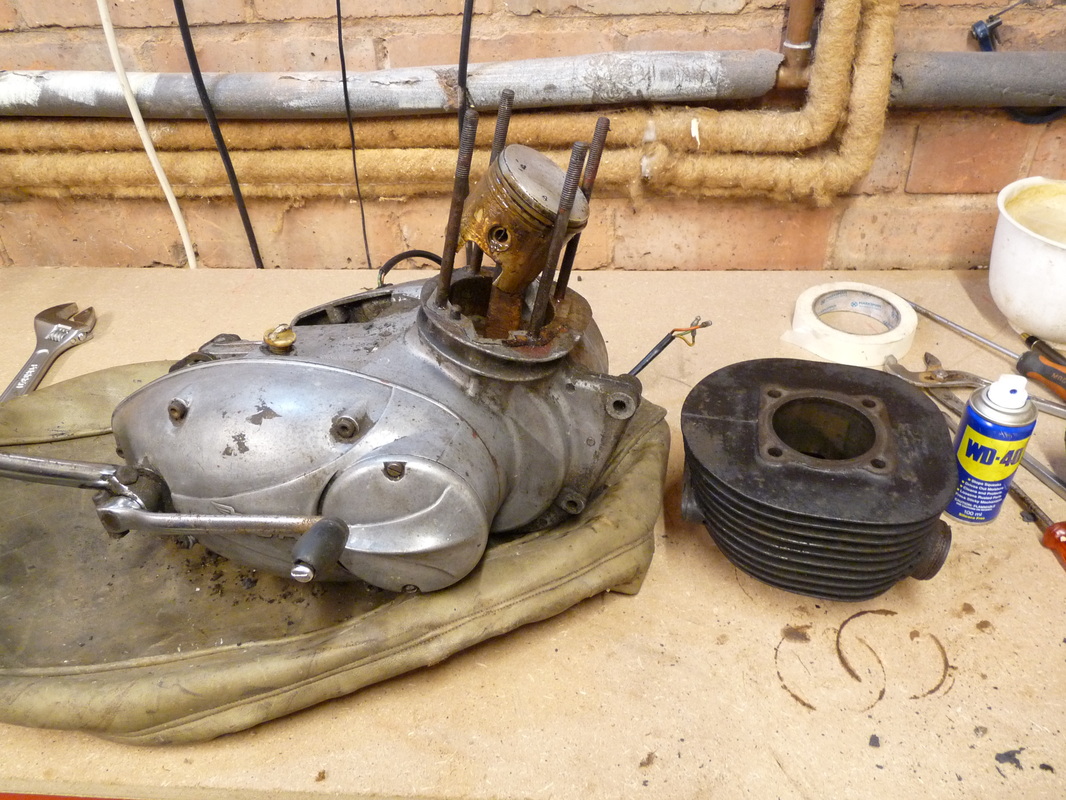
Next unscrew the four "holding down studs".
I suggest a good dousing of WD 40 here. You will read this a lot, but, you really need to take your time and have patience doing this part.
When you come to reassemble remember the end on the stud with the shorter thread goes into the engine casing.
Tape the four studs together and put somewhere safe.
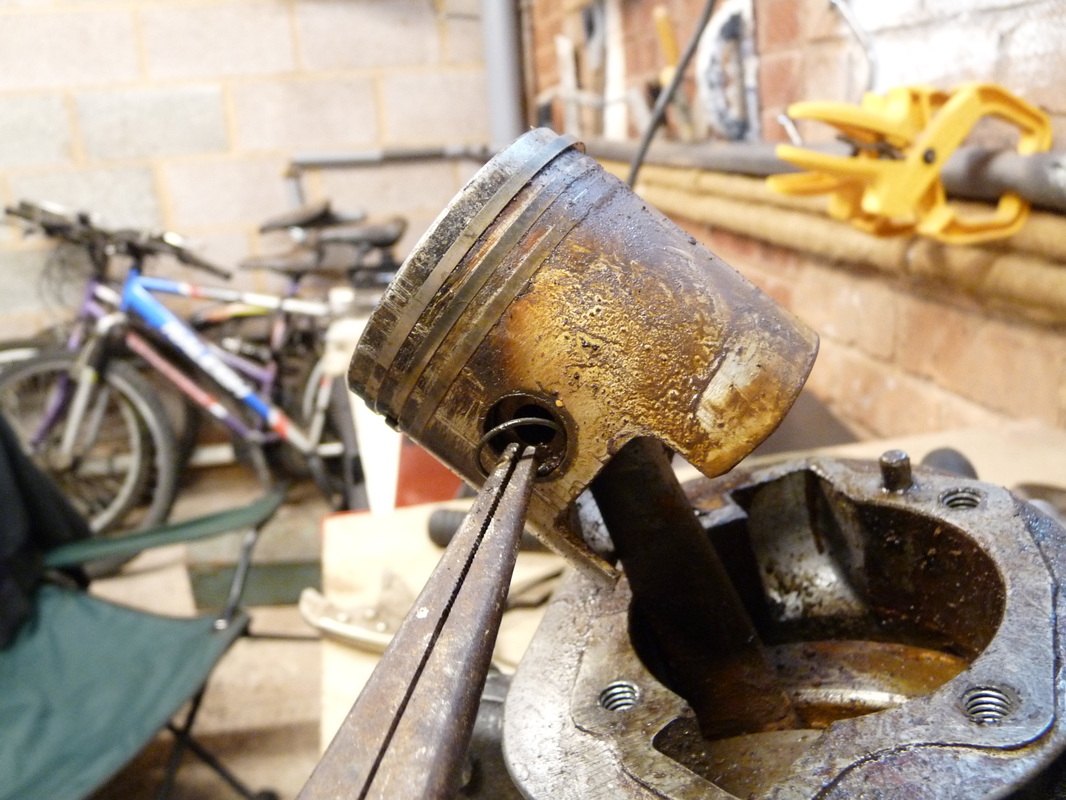
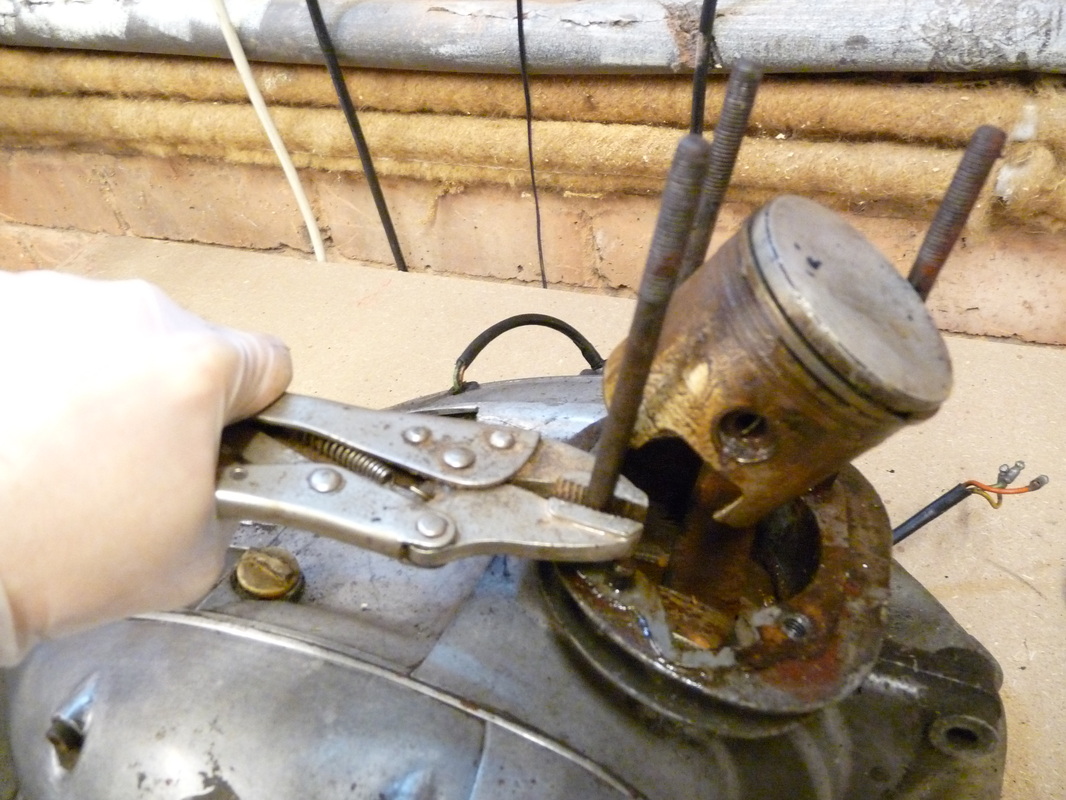
Remove the circlips on either side of the piston that hold the gudgeon pin in place.
Slide the gudgeon pin through the piston head and the small end bearing.
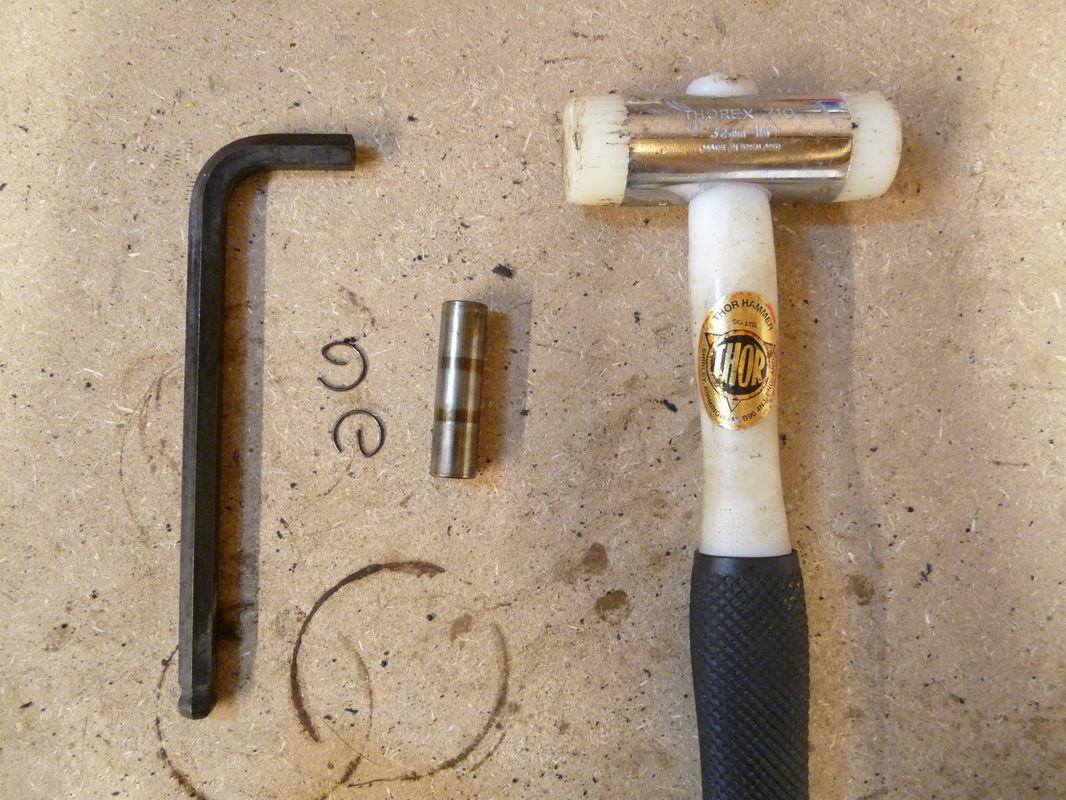
Mine was quite tight so I used lots of WD 40 with a number 10 Allen Key and slowly tapped it out with a nylon hammer. Probably not the best idea, maybe have a go at gently warming the piston first.
Bag the gudgeon pin and put somewhere safe. Dump the circlips.
Slide the gudgeon pin through the piston head and the small end bearing.
Mine was quite tight so I used lots of WD 40 with a number 10 Allen Key and slowly tapped it out with a nylon hammer. Probably not the best idea, maybe have a go at gently warming the piston first.
Bag the gudgeon pin and put somewhere safe. Dump the circlips.
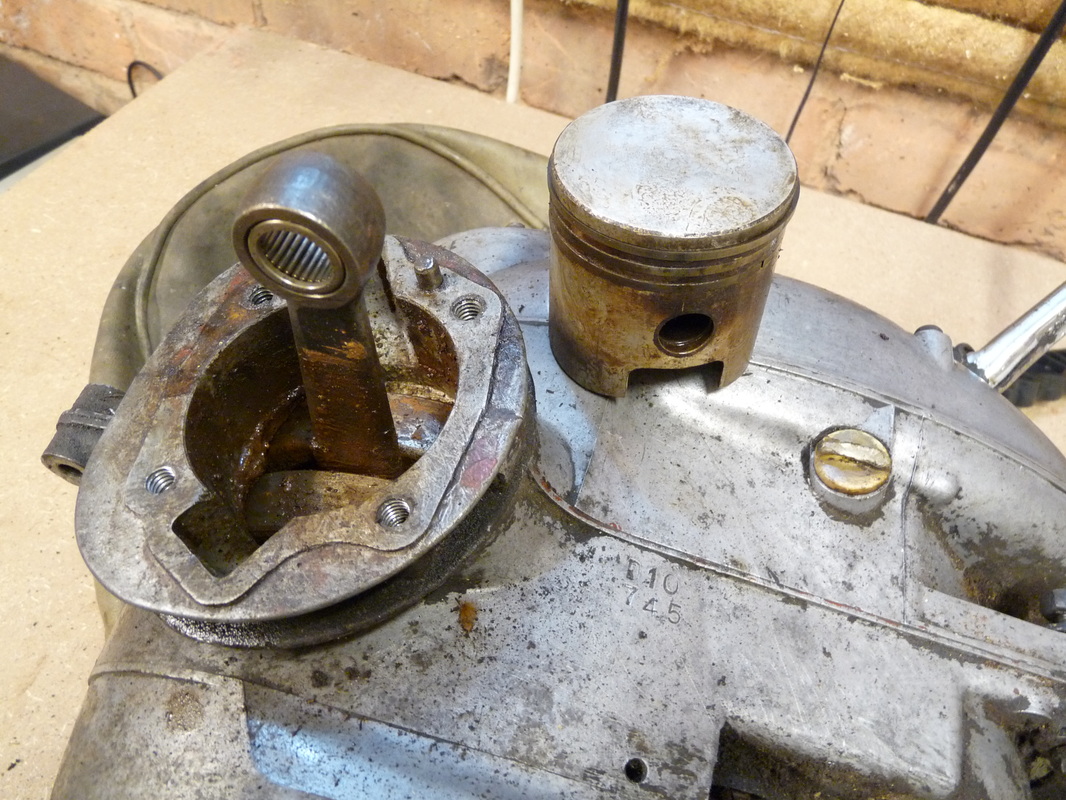
Remove the piston and put to one side for the time being.
Now to the right hand side of the engine.
Remove the kick start and the gear leaver by loosening the nuts and sliding them off. You may need to take the nuts off completely, just put them back on when you're done.
Remove the kick start and the gear leaver by loosening the nuts and sliding them off. You may need to take the nuts off completely, just put them back on when you're done.
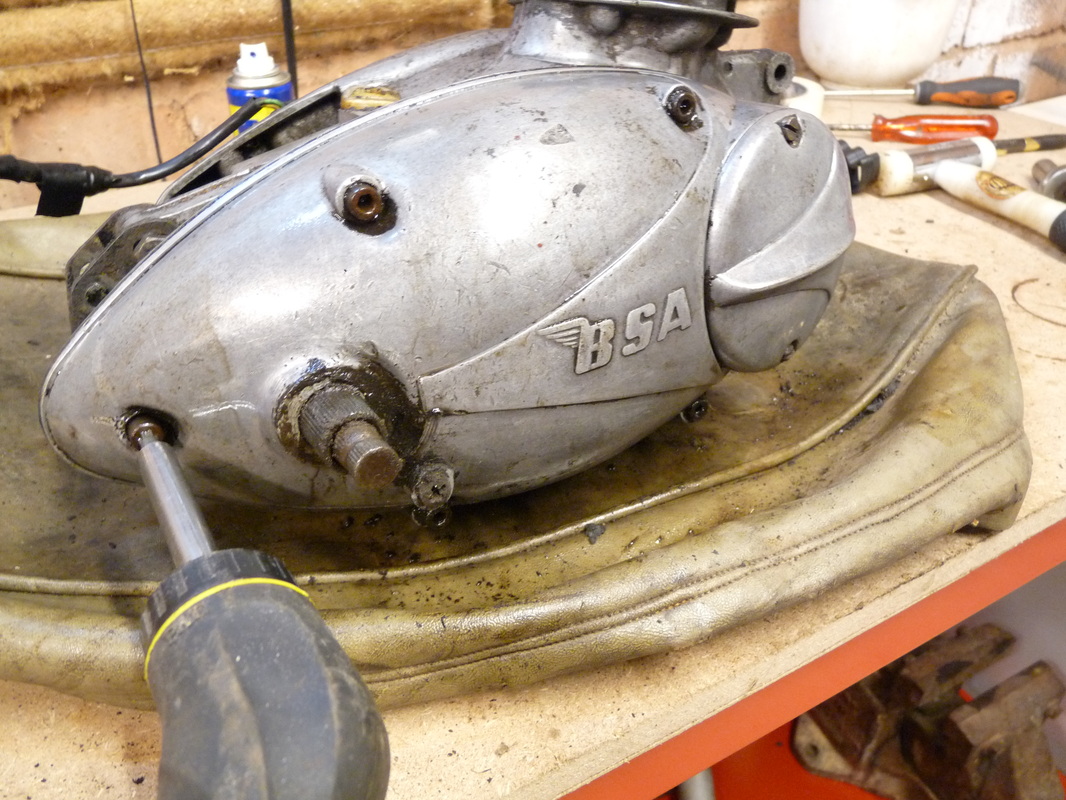
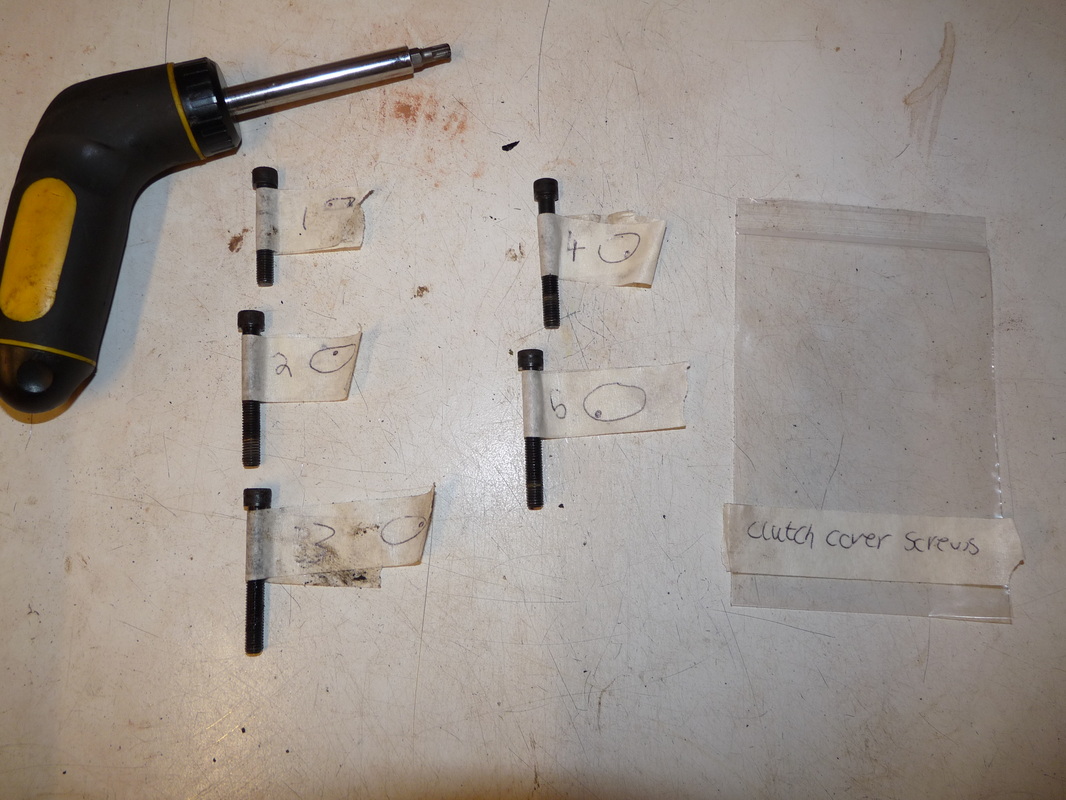
Now remove the five screws holding the clutch cover in place.
The screws are different lengths. So, starting from the furthest left, unscrew the screws and label them in order 1-5.
Bag and label the screws.
The screws are different lengths. So, starting from the furthest left, unscrew the screws and label them in order 1-5.
Bag and label the screws.
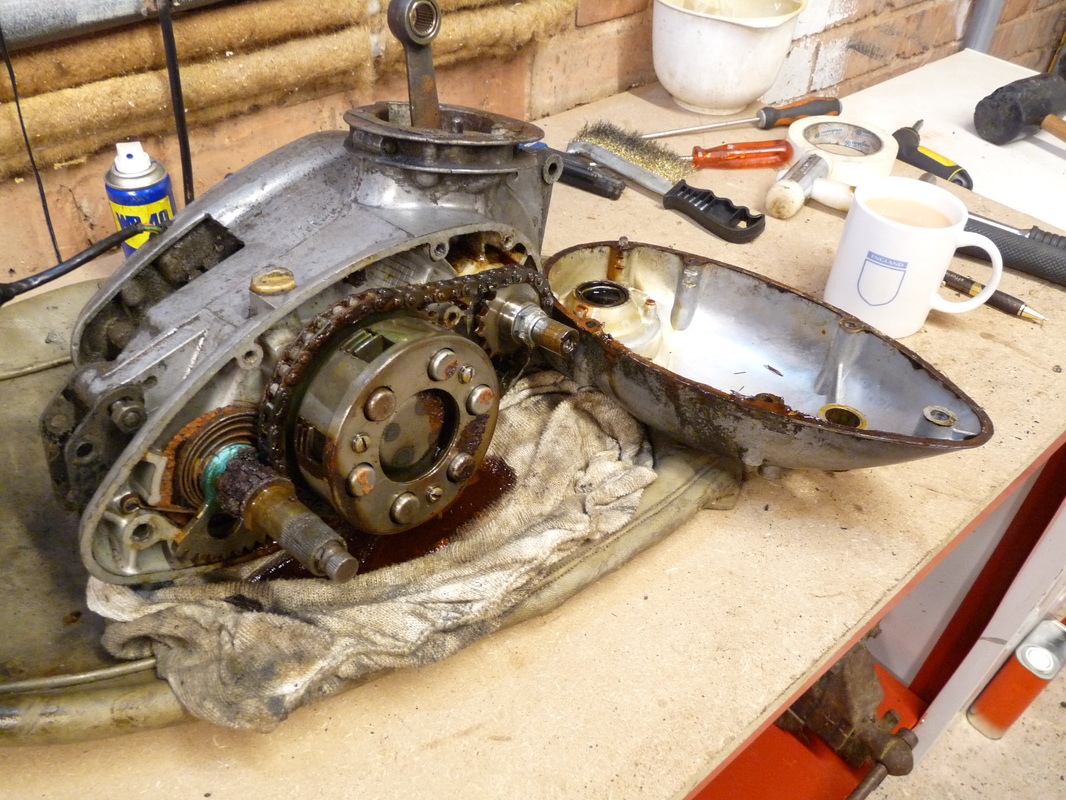
Now, place an old bit of rag or some paper towels under the clutch cover to mop up any residual oil. Give it a little tap with a mallet and it should come free.
That is not a pretty site!
That is not a pretty site!
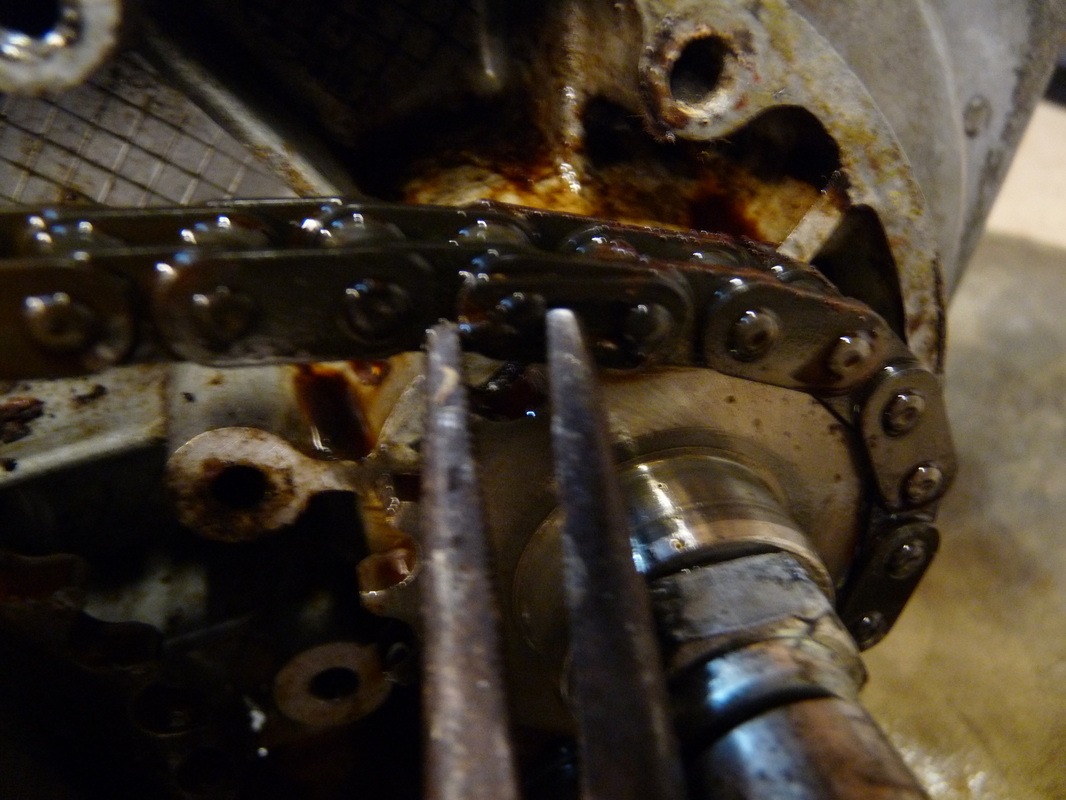
Next remove the primary drive chain.
Same was a before, prize off the spring clip, slide the link, take the chain off, put the link back in.
Bag and label it.
Same was a before, prize off the spring clip, slide the link, take the chain off, put the link back in.
Bag and label it.

Now remove the three screws holding the clutch cover in place.
The clutch cover should simply slide off.
This will reveal the large spring circlip.
The clutch cover should simply slide off.
This will reveal the large spring circlip.
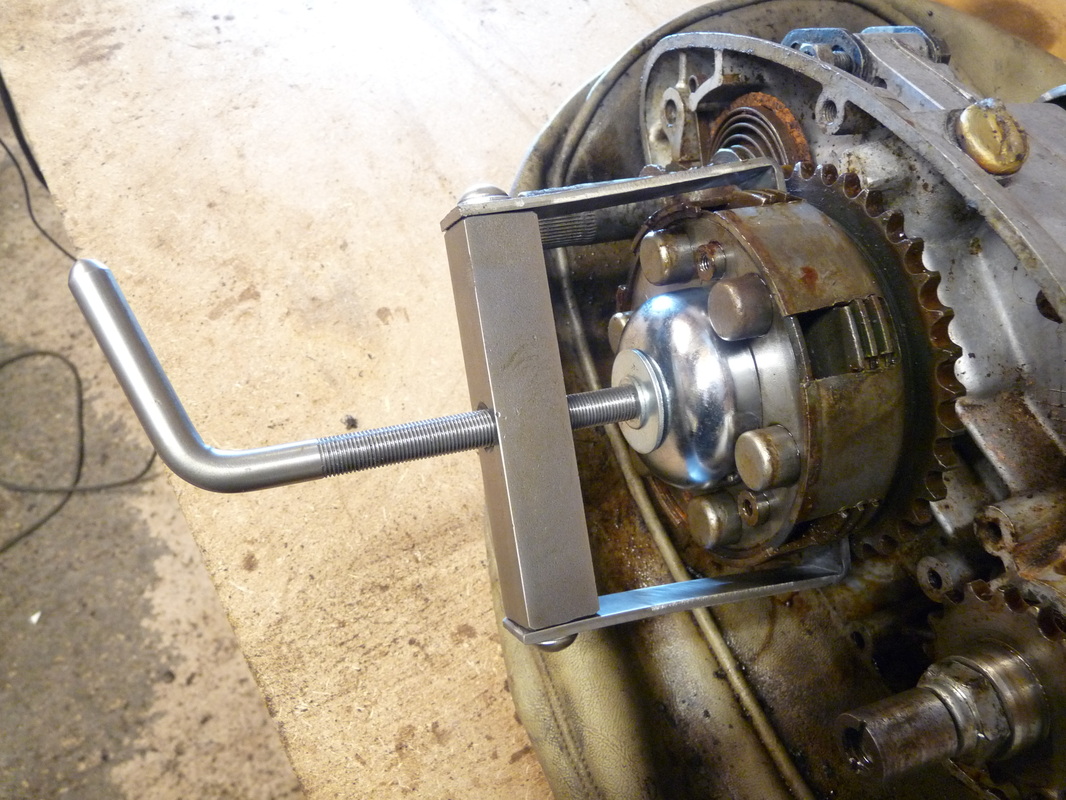
To remove this circlip use a clutch spring compressor tool.
Slide the two feet behind the clutch assembly and tighten so the springs are compressed enough for you to remove the circlip.
Slide the two feet behind the clutch assembly and tighten so the springs are compressed enough for you to remove the circlip.
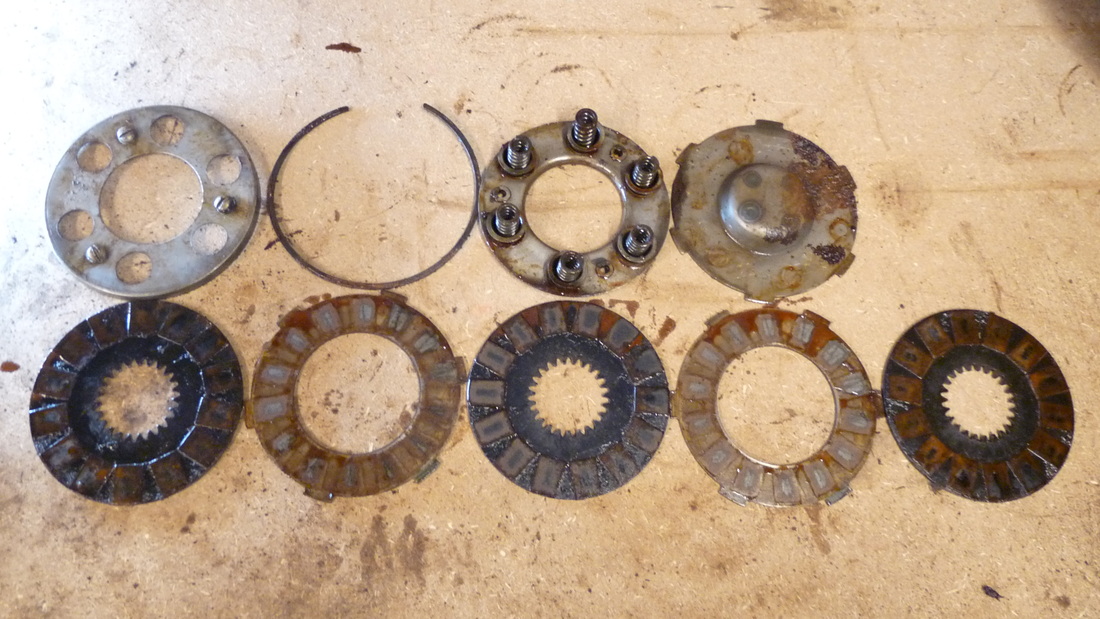
Once the circlip is removed, slowly undo the compressor and remove the clutch pressure plate, cups and springs and the clutch plates.
A diagram of the clutch component parts can be found on page 26 of the Haynes manual.
A diagram of the clutch component parts can be found on page 26 of the Haynes manual.
Next remove the short clutch rod.
It simply slides out.
It simply slides out.
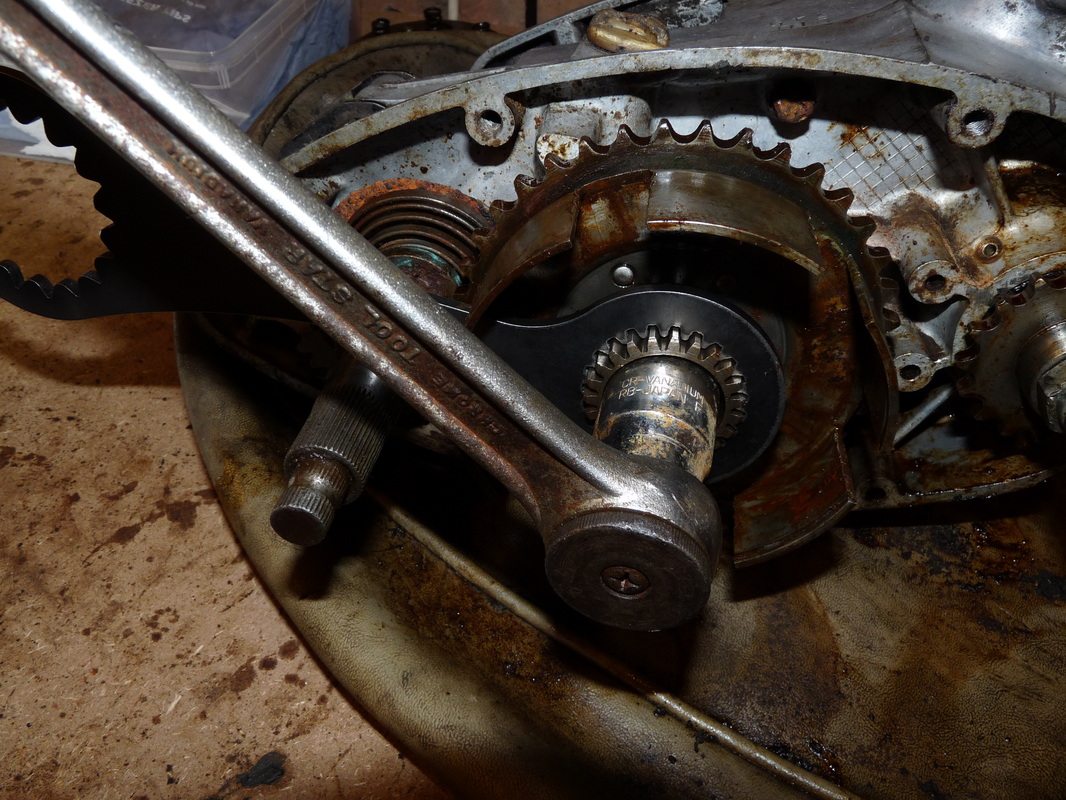
Next remove the clutch drum by undoing the center nut.
Use a clutch spanner (clutch boss spanner) to stop it from spinning around.
I obtained mine from rex caunt racing, it wasn't on their ebay store or their website so best to phone them.
Bag the whole clutch assembly together.
Use a clutch spanner (clutch boss spanner) to stop it from spinning around.
I obtained mine from rex caunt racing, it wasn't on their ebay store or their website so best to phone them.
Bag the whole clutch assembly together.
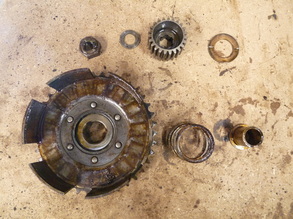
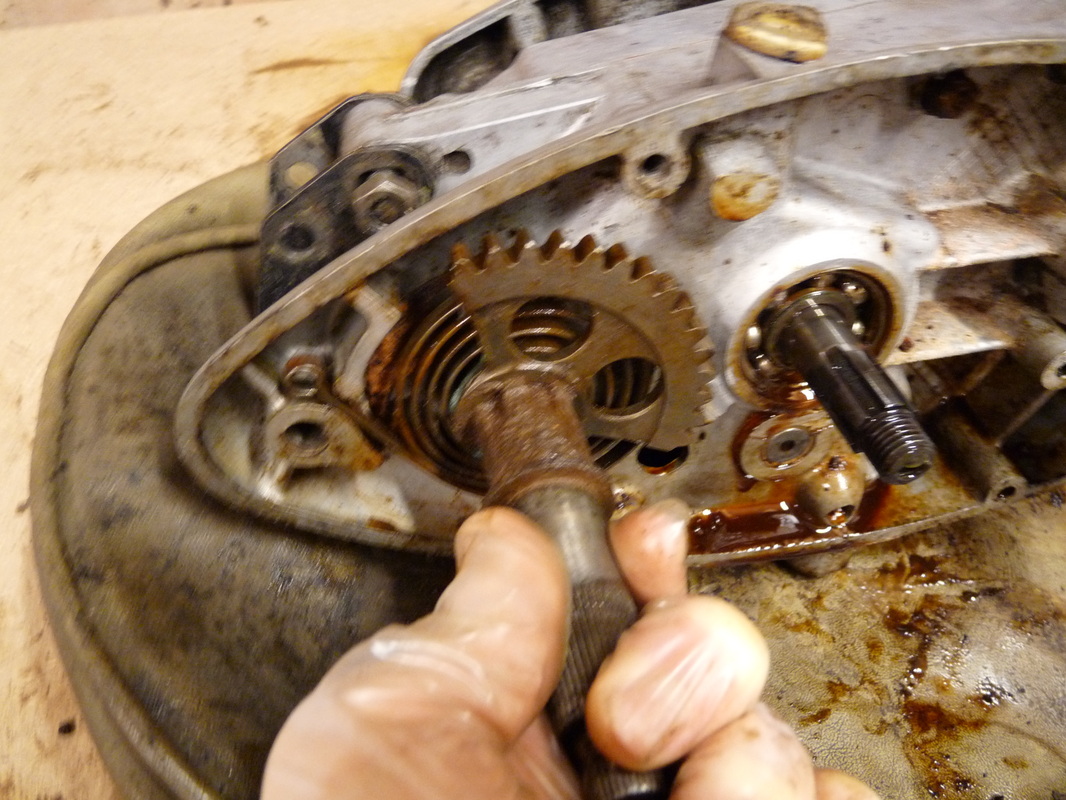
Next remove the kick start assembly.
Compress the spring by grasping the kick start assembly and twisting it anti-clockwise slightly and then slide the assembly outwards slightly and twist it clockwise to decompress the spring fully.
The spring and the rest of the kick start assembly should then slide out.
Bag them up together.
Compress the spring by grasping the kick start assembly and twisting it anti-clockwise slightly and then slide the assembly outwards slightly and twist it clockwise to decompress the spring fully.
The spring and the rest of the kick start assembly should then slide out.
Bag them up together.
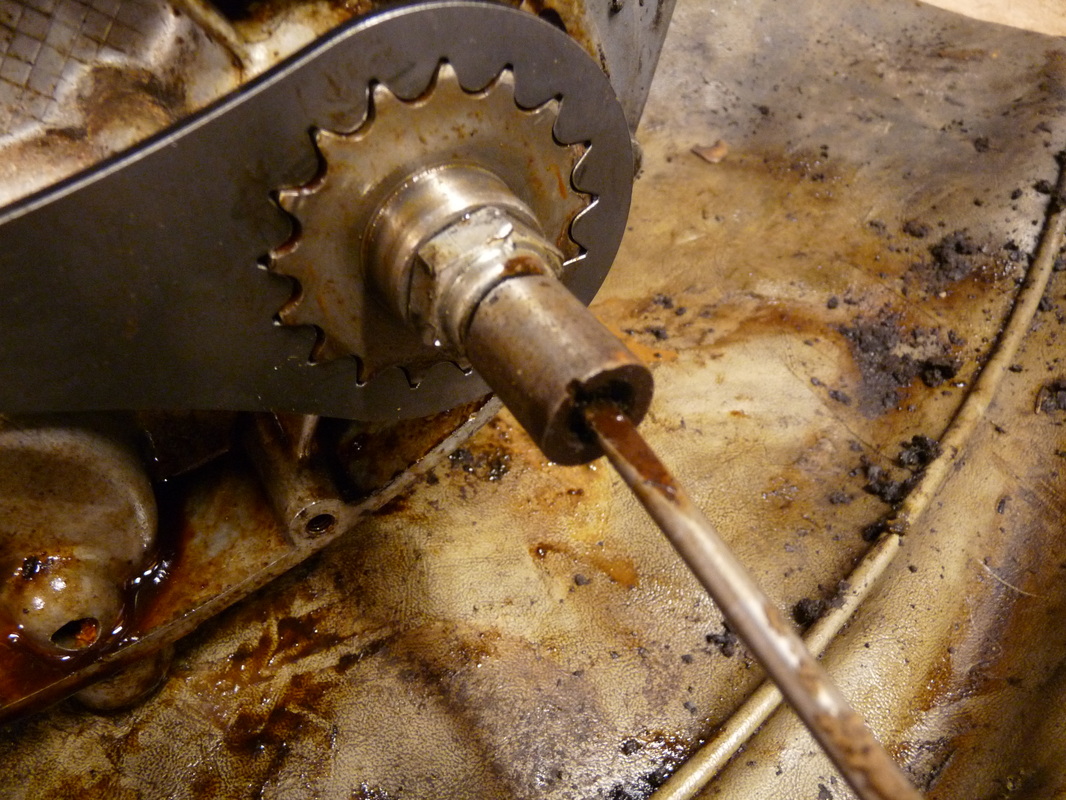
Next, using a flat headed screw driver, undo the screw in the end of the engine sprocket shaft.
Bag and label this.
This isn't shown in the Haynes manual so maybe not all engine have this.
Bag and label this.
This isn't shown in the Haynes manual so maybe not all engine have this.
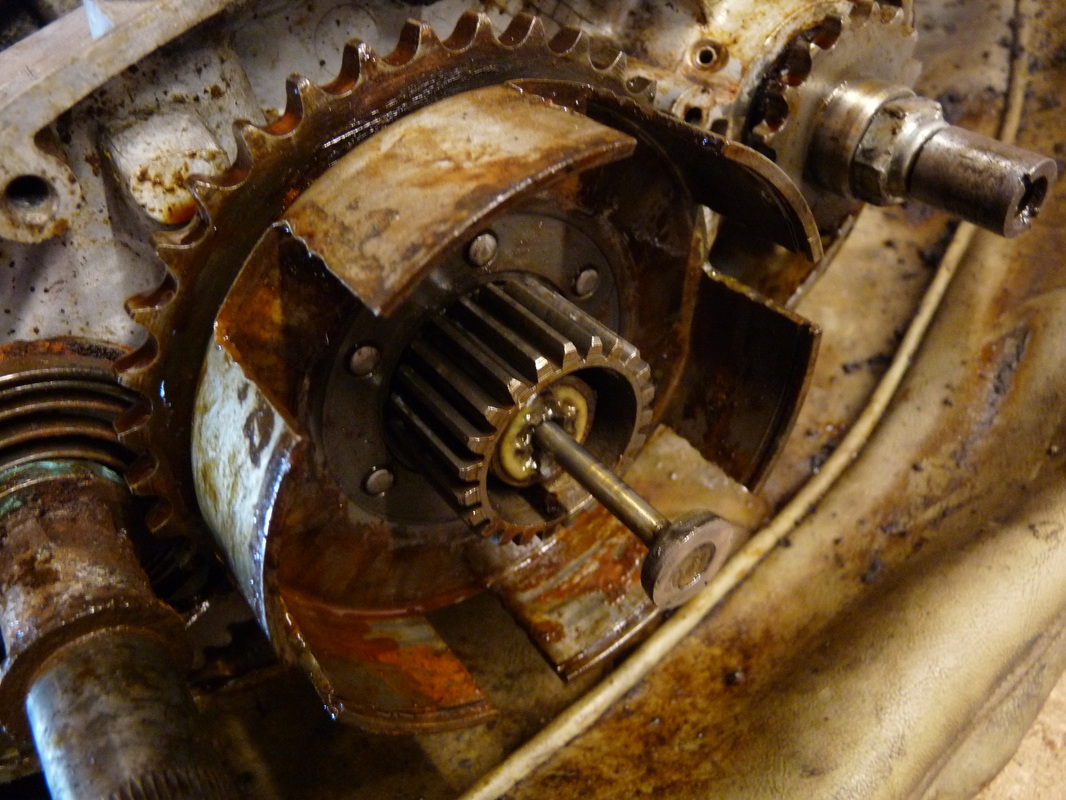
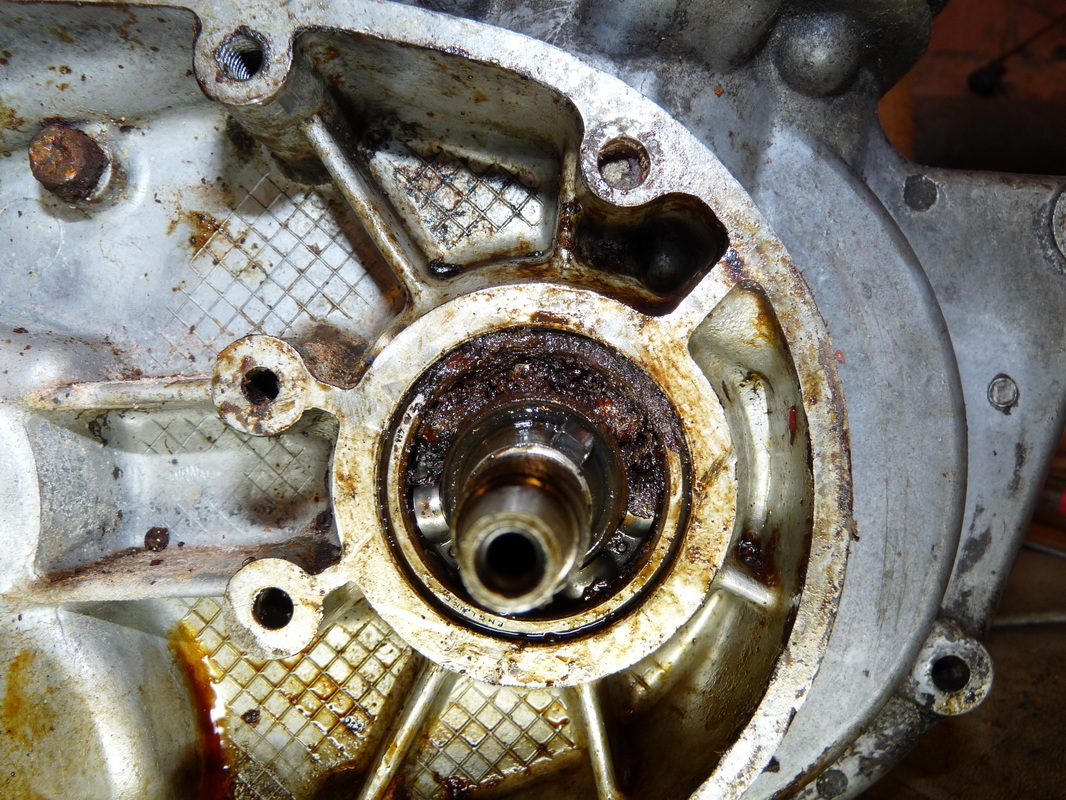
Now, again using the clutch spanner, undo the engine sprocket nut.
The sprocket should slide off, it is a bit stiff though so you may need to use a puller.
I think I've found why this engine probably doesn't run.
The sprocket should slide off, it is a bit stiff though so you may need to use a puller.
I think I've found why this engine probably doesn't run.
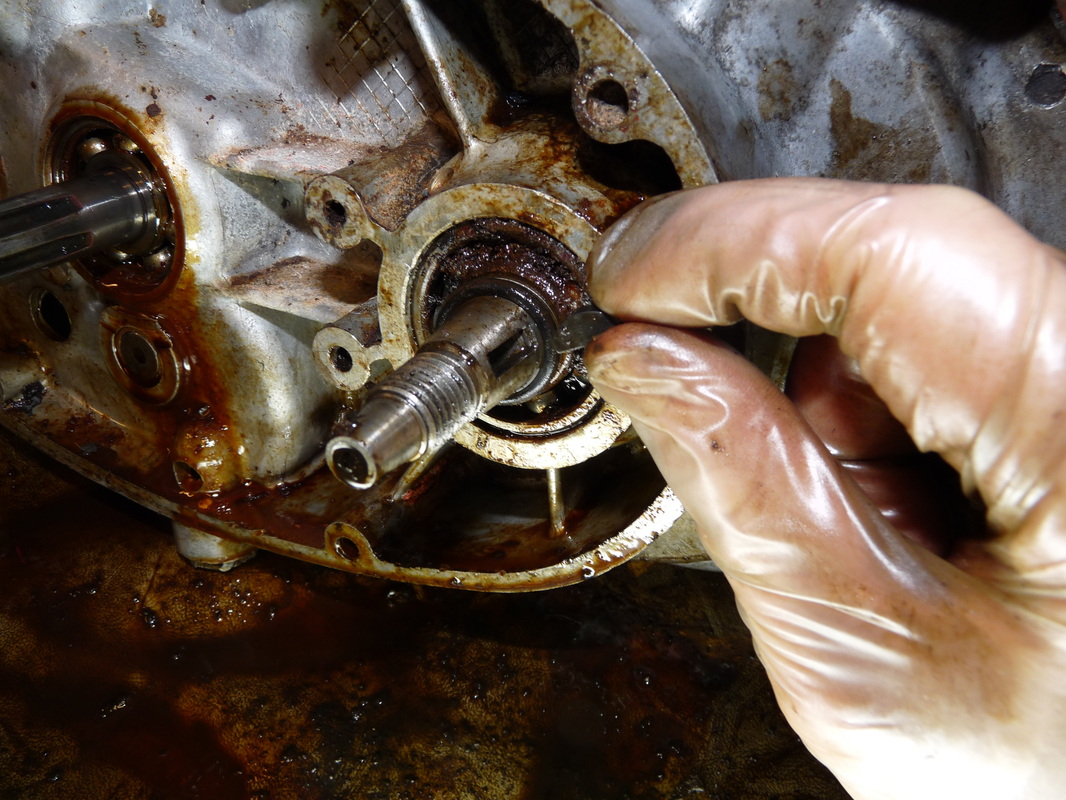
Remove the woodruff key.
This simply slides out. Remove the washer and seal below it also.
Bag and label them.
This simply slides out. Remove the washer and seal below it also.
Bag and label them.
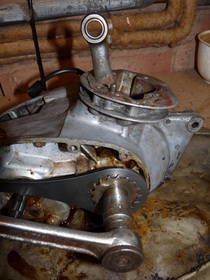
Last thing we're going to do is remove the engine bracket at the back on the engine.
That's it. we're done with part one of the engine dismantle.
Time for a cup of tea.
That's it. we're done with part one of the engine dismantle.
Time for a cup of tea.
