Engine Dismantle - Part 2
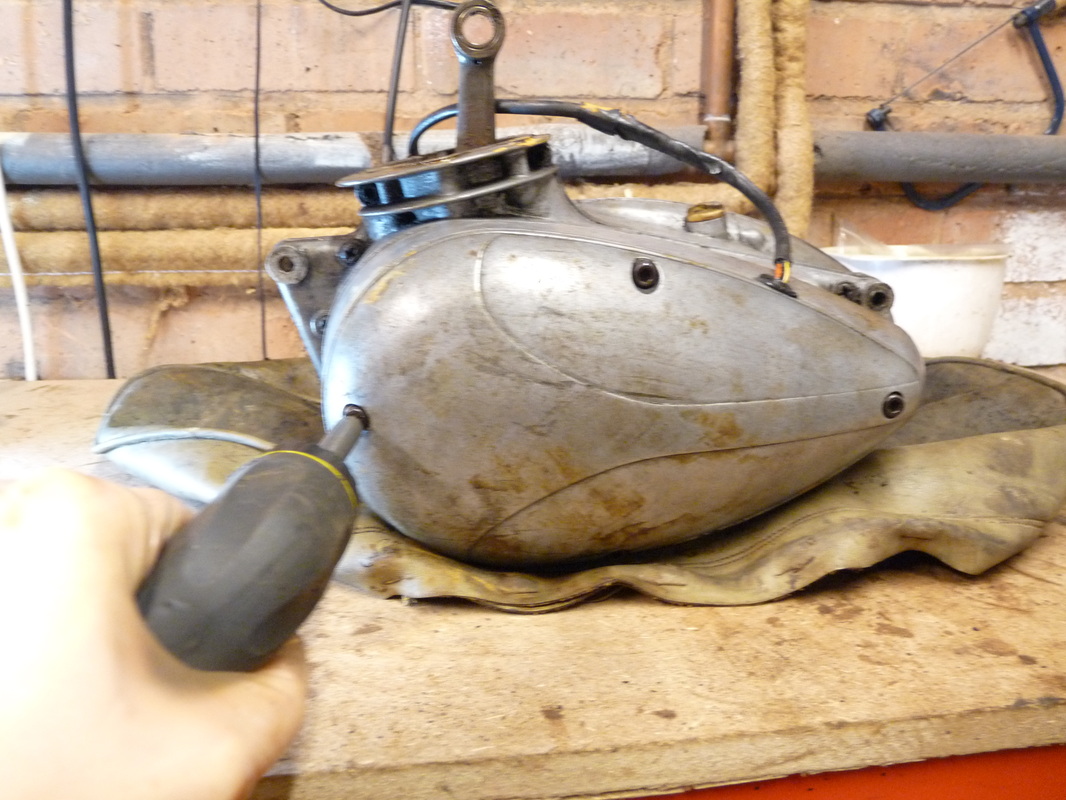
Start by removing the 4 screws the hold the alternator cover in place.
These should all be the same size, except for the one at the bottom which is about 5mm shorter than the others.
Bag and label these.
These should all be the same size, except for the one at the bottom which is about 5mm shorter than the others.
Bag and label these.
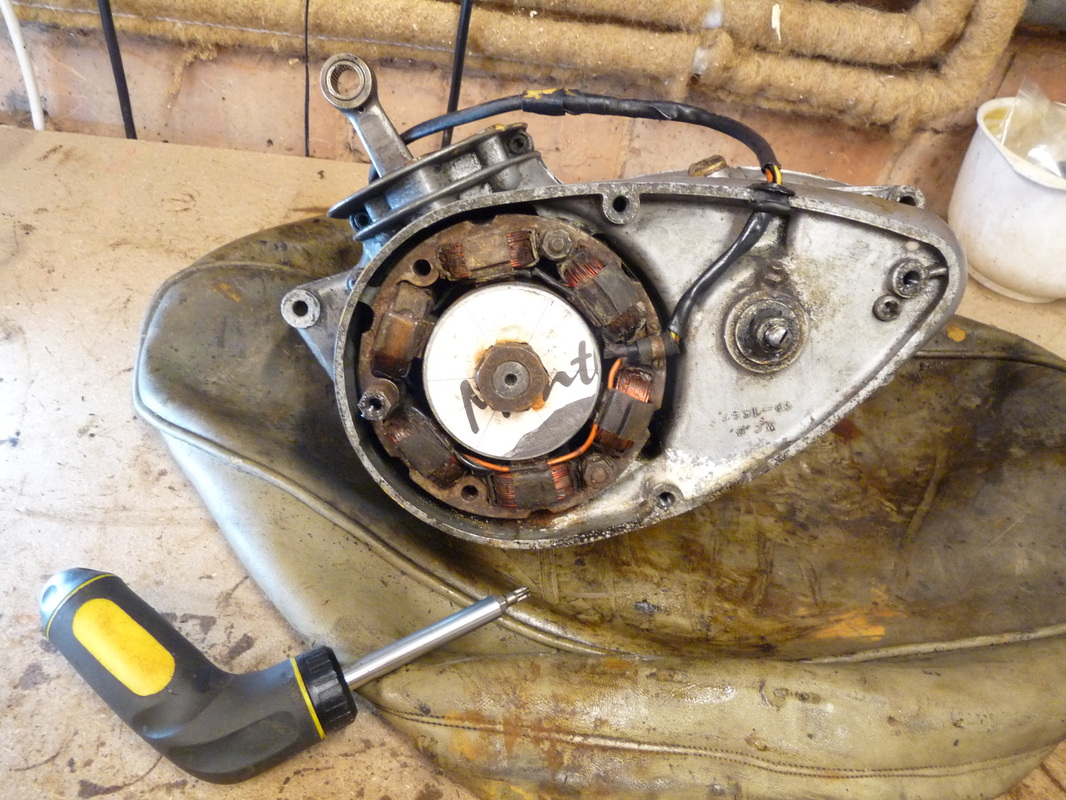
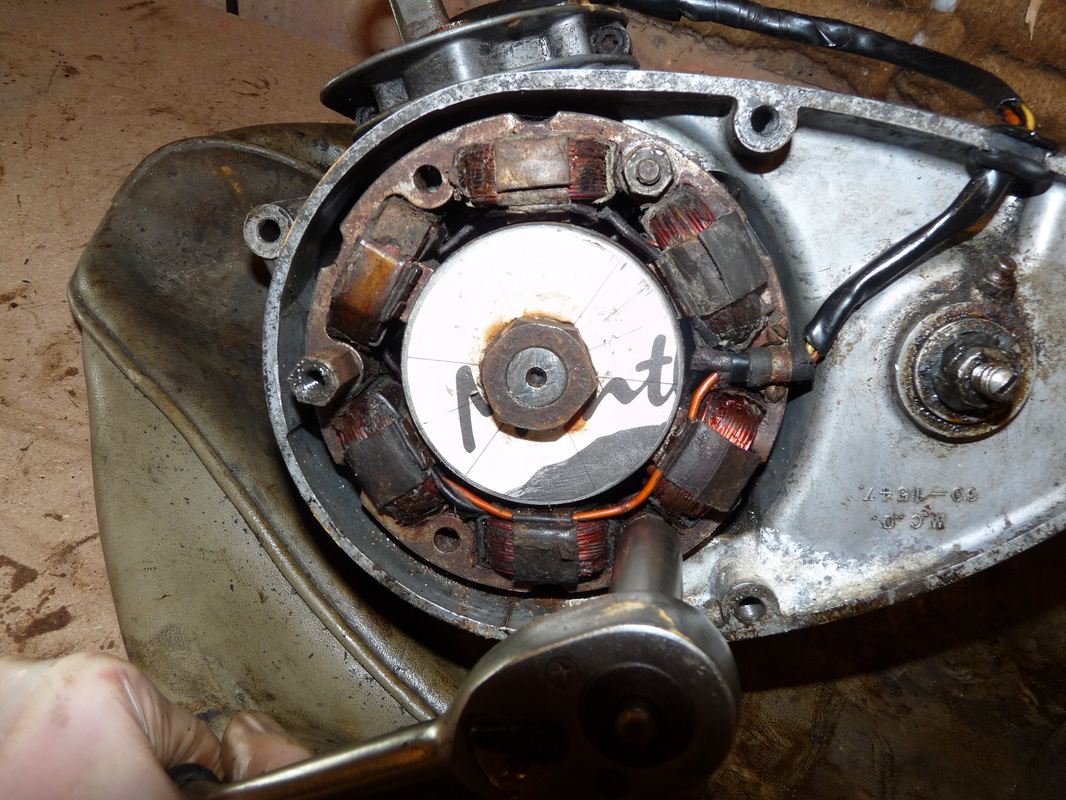
Remove the three nuts that hold the stator in place.
Note that one of the nuts, the one towards the front of the engine, is longer. This is because the cover screws into this.
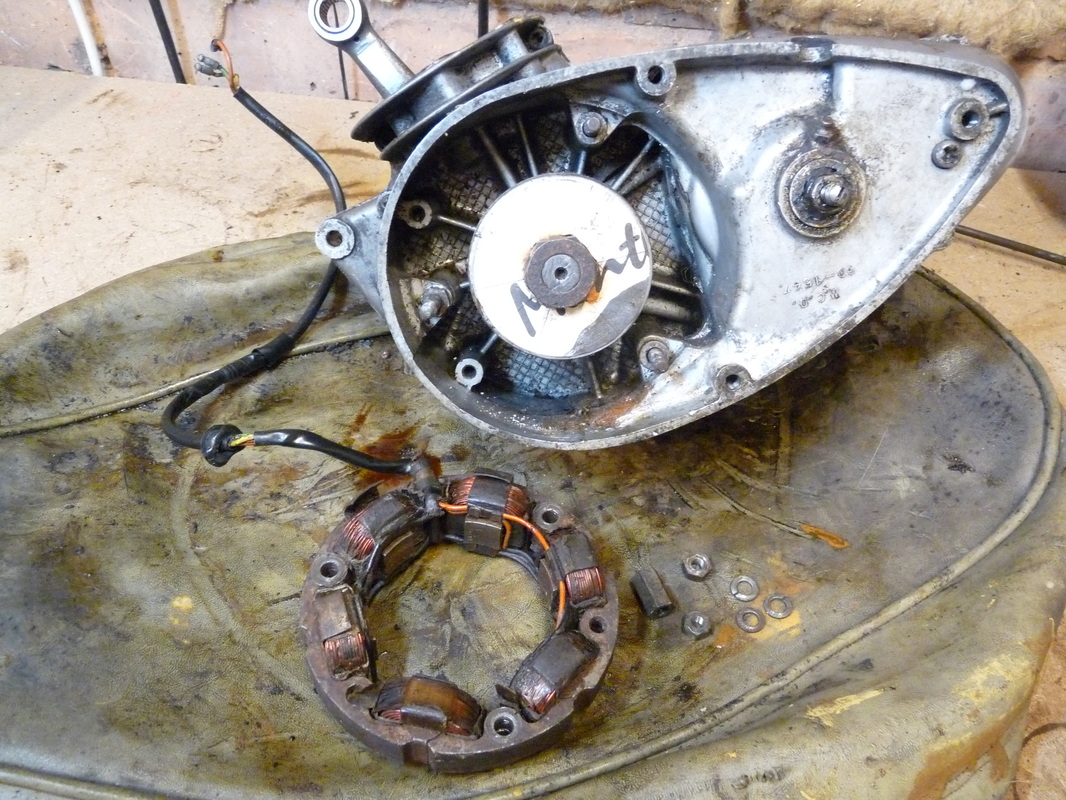
You should now be able to wiggle the stator plate out.
You may prefer to remove the magneto flywheel first, or do both at the same time.
Note that one of the nuts, the one towards the front of the engine, is longer. This is because the cover screws into this.
You should now be able to wiggle the stator plate out.
You may prefer to remove the magneto flywheel first, or do both at the same time.
Next remove the nut the holds the magneto flywheel in place.
Slide the flywheel out and put somewhere safe.
Bag and label the nut and washer.
Slide the flywheel out and put somewhere safe.
Bag and label the nut and washer.
Now lift the woodruff key out of it's slot.
Bag and label it.
Bag and label it.
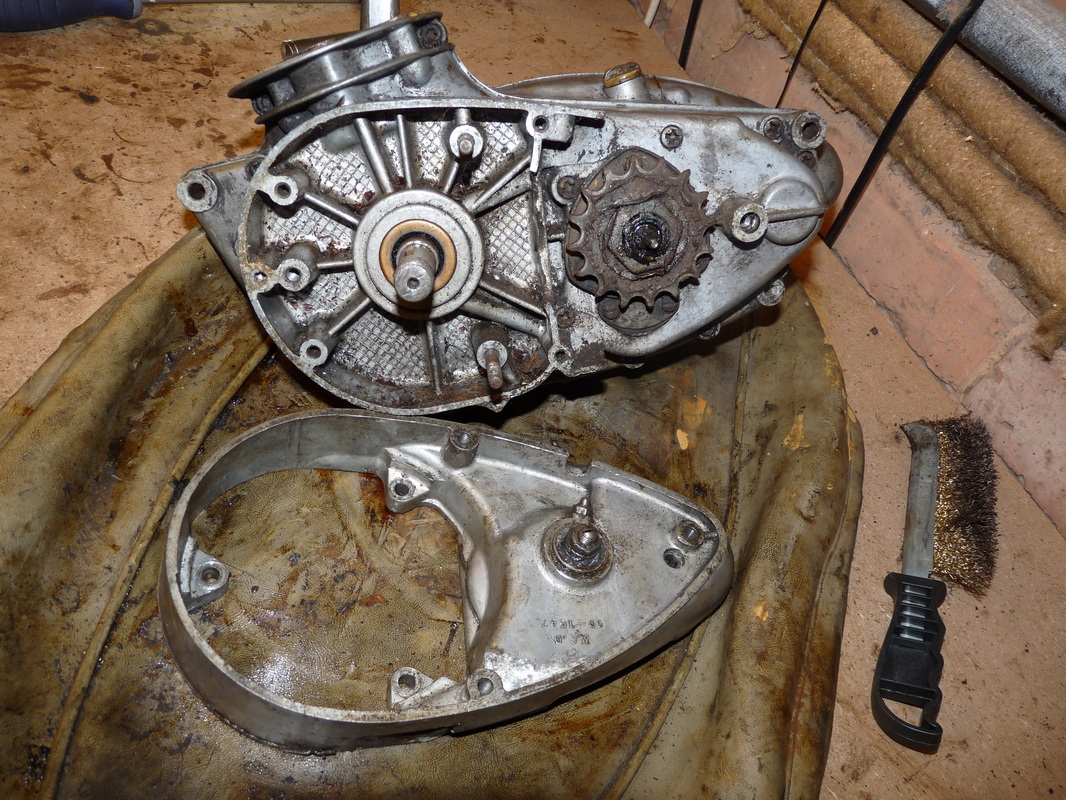
Next to remove the inner cover.
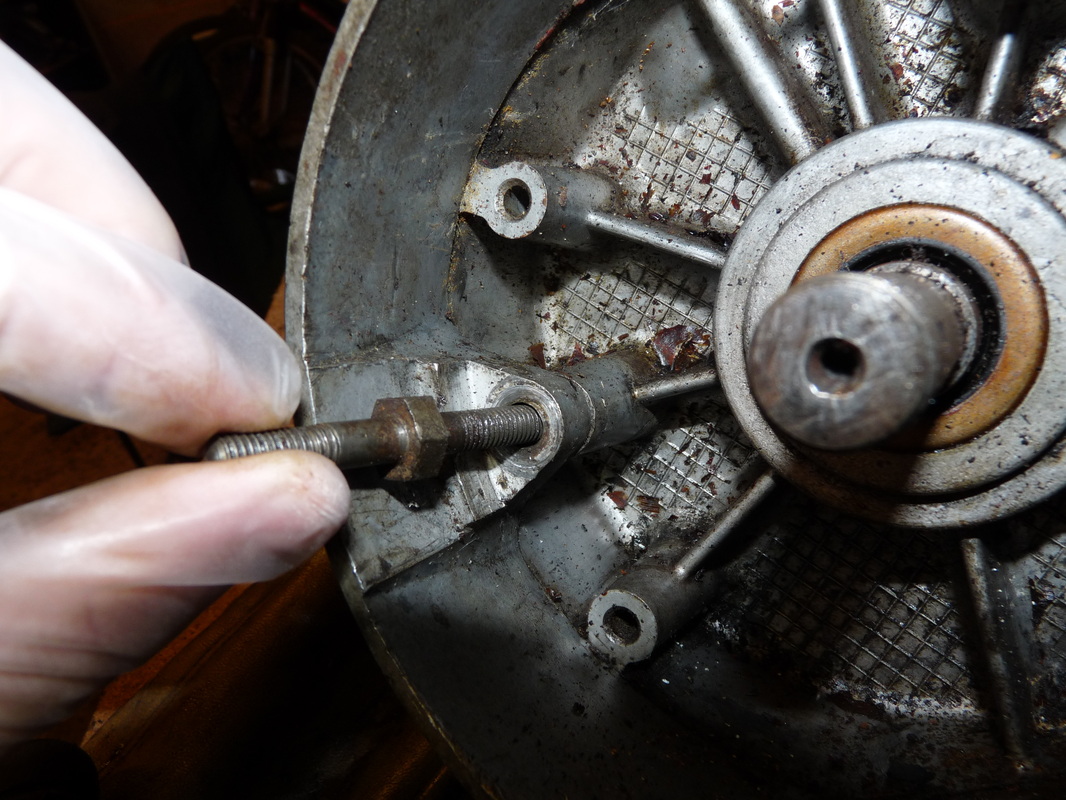
Start by undoing the double threaded bolt, the one where the long stator nut attached to.
Noting that the shorter threaded end faces outwards.
Start by undoing the double threaded bolt, the one where the long stator nut attached to.
Noting that the shorter threaded end faces outwards.
Next, using a phillips screwdriver, unscrew the screw towards the right of the inner cover.
Bag and label the screw and bolt.
The inner cover should now slide free exposing the drive sprocket.
Bag and label the screw and bolt.
The inner cover should now slide free exposing the drive sprocket.
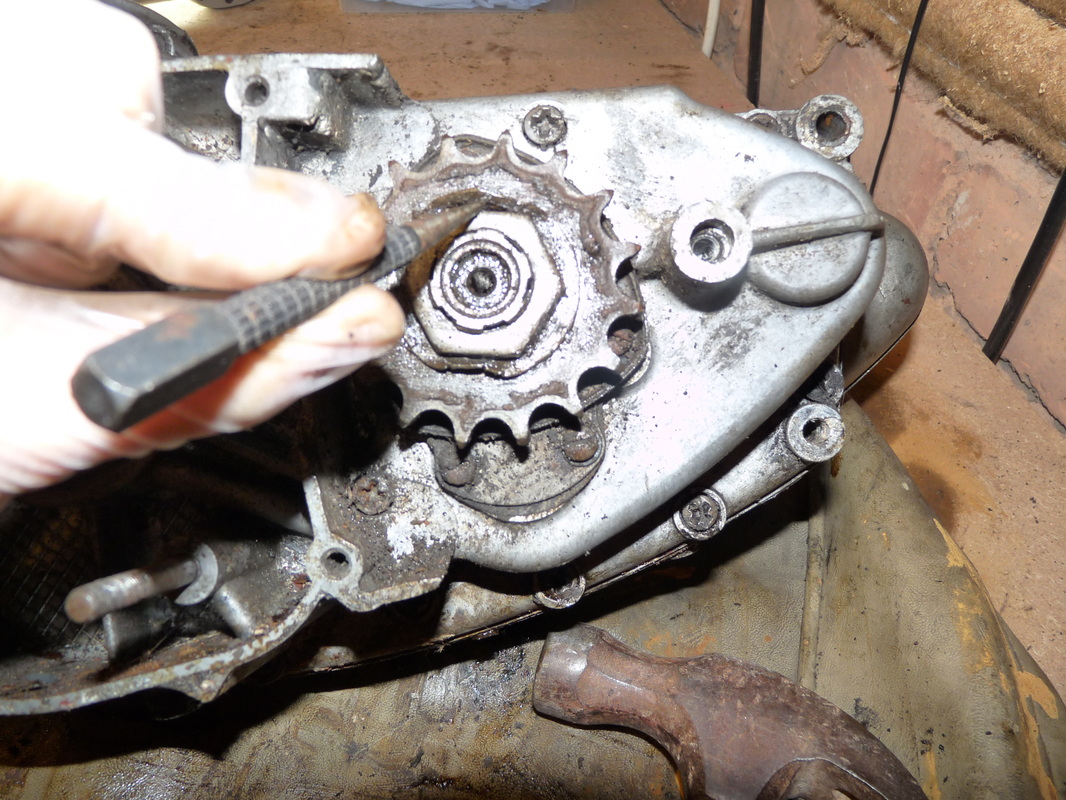
Now to remove the sprocket.
Using a hammer and a large nail punch, fold back the flaps on the locking washer.
Using a hammer and a large nail punch, fold back the flaps on the locking washer.
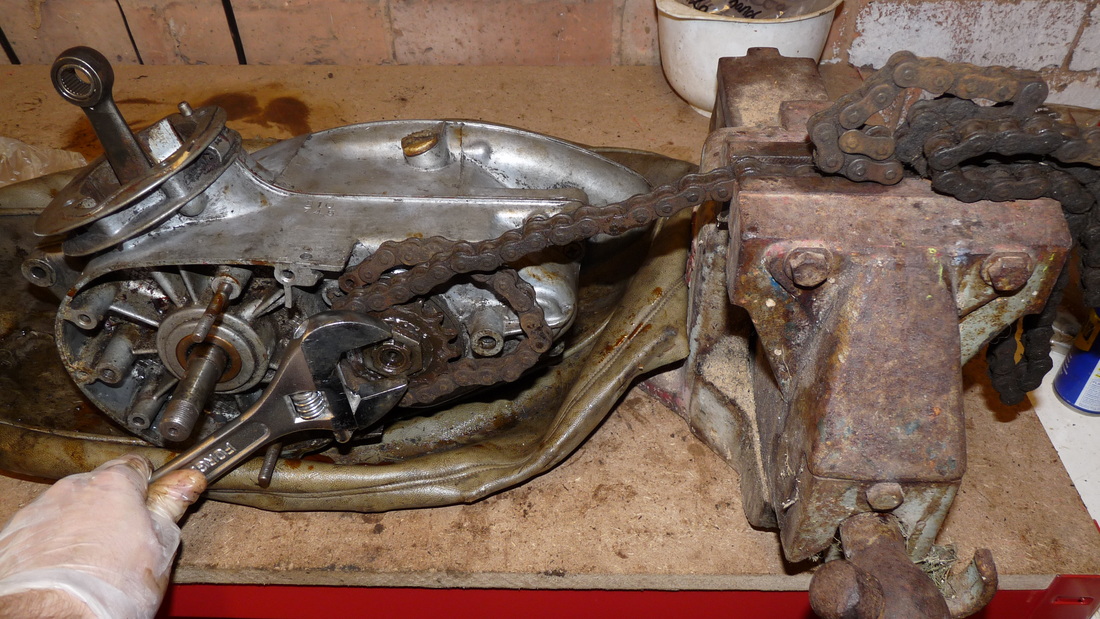
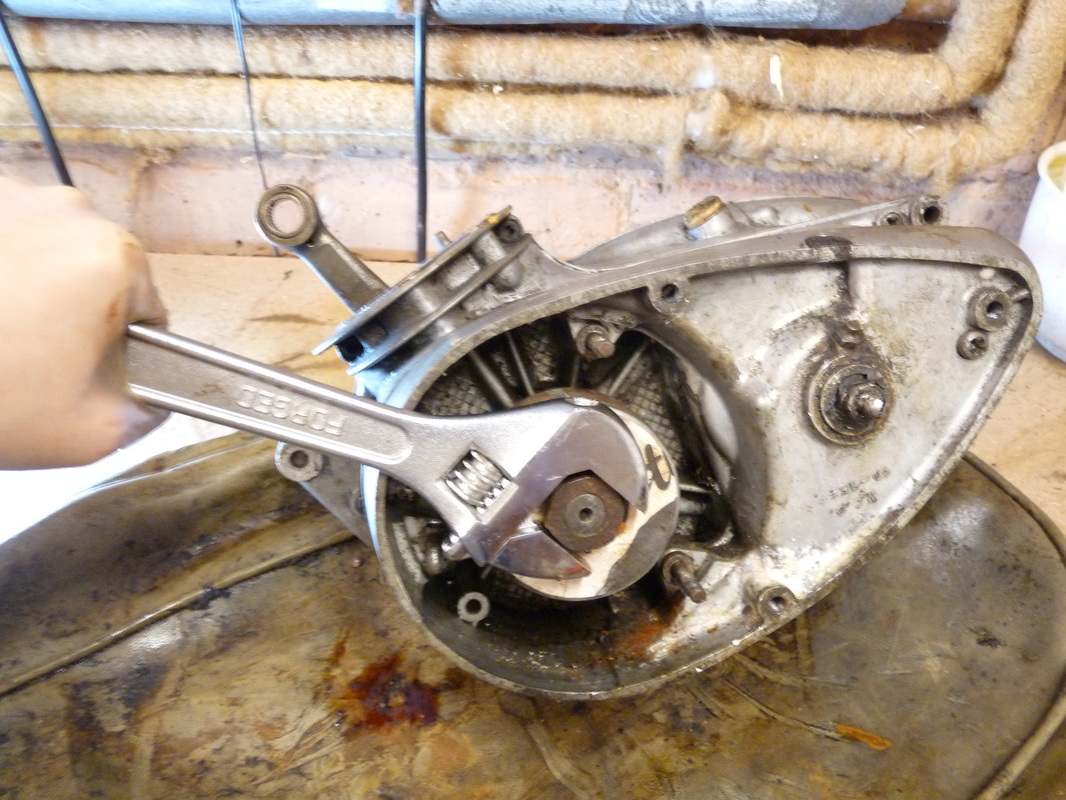
Now undo the large sprocket nut.
It's best to stop the sprocket from spinning by wrapping the motorcycle chain around it and clamping it in place.
Note: This nut has a left hand thread (clockwise to loosen, anti-clockwise to tighten).
It's best to stop the sprocket from spinning by wrapping the motorcycle chain around it and clamping it in place.
Note: This nut has a left hand thread (clockwise to loosen, anti-clockwise to tighten).
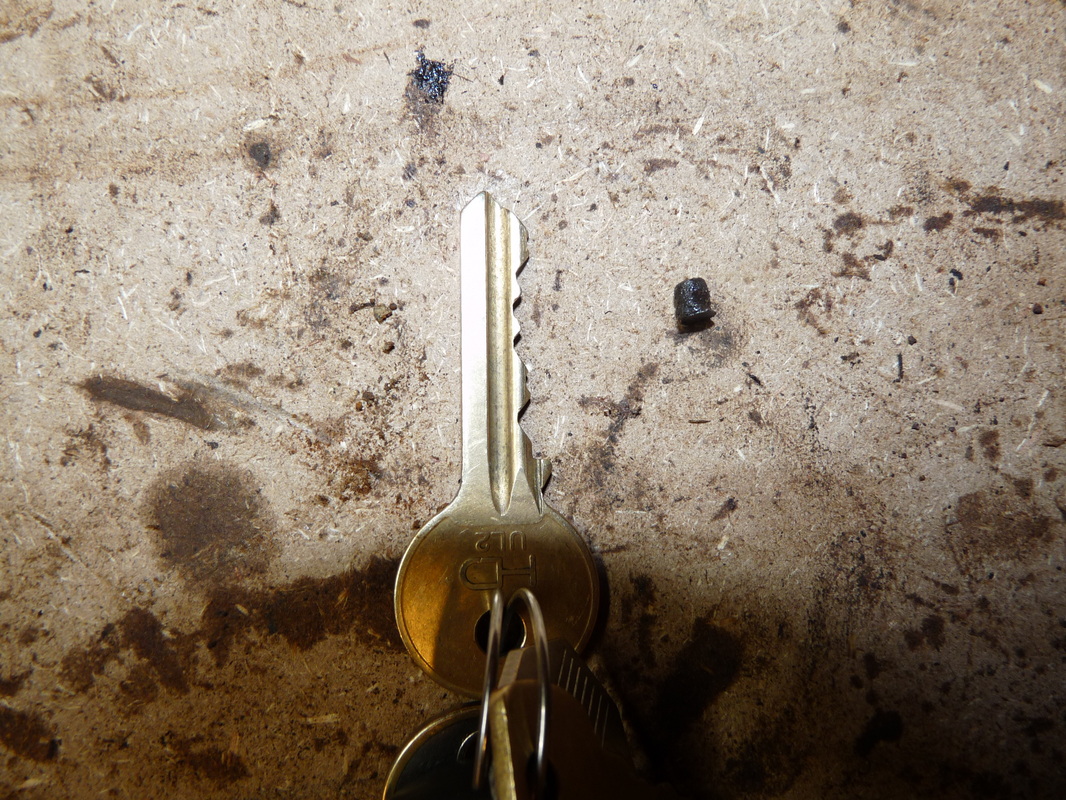
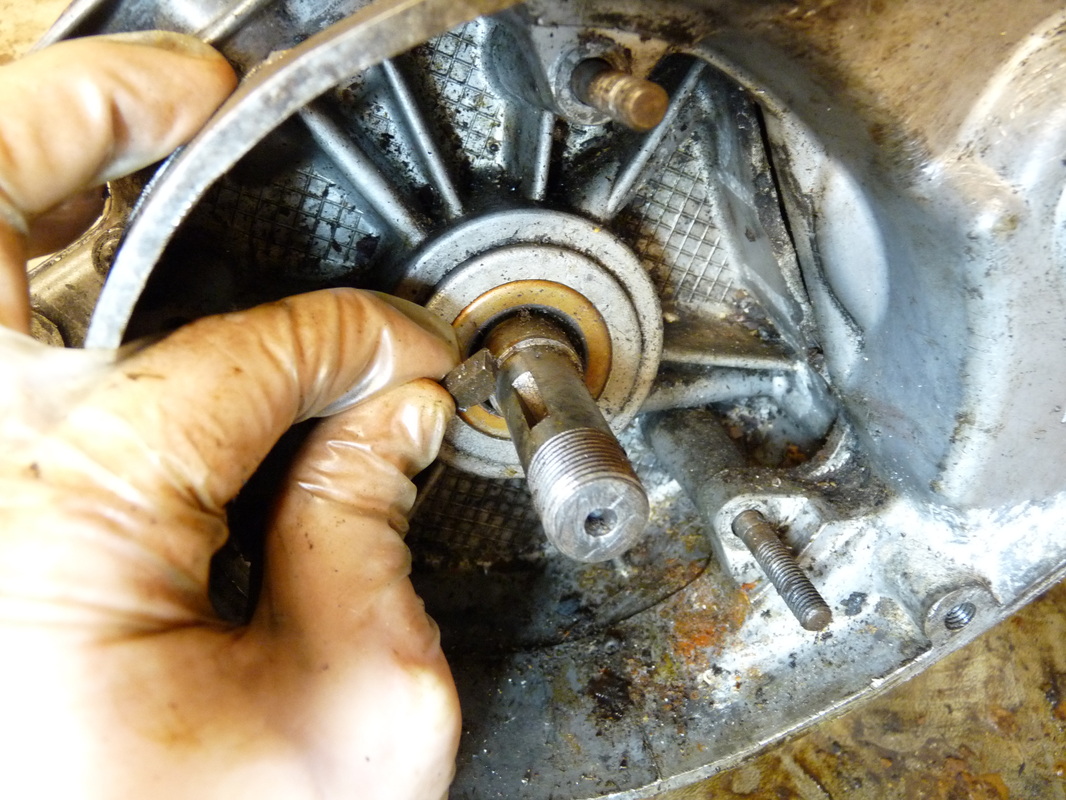
Note: there is a tiny pellet in the end of the main shaft. Make sure you don't loose it. Bag and label it. Don't remove the rest of the clutch operating rod for the time being.
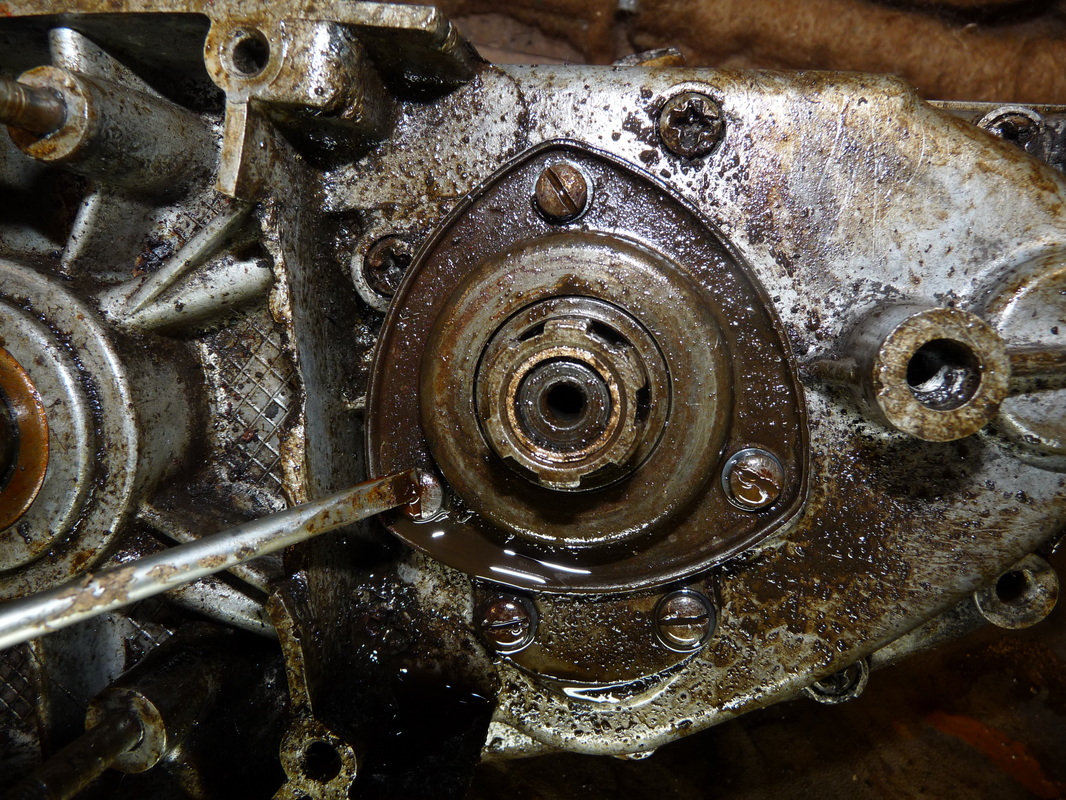
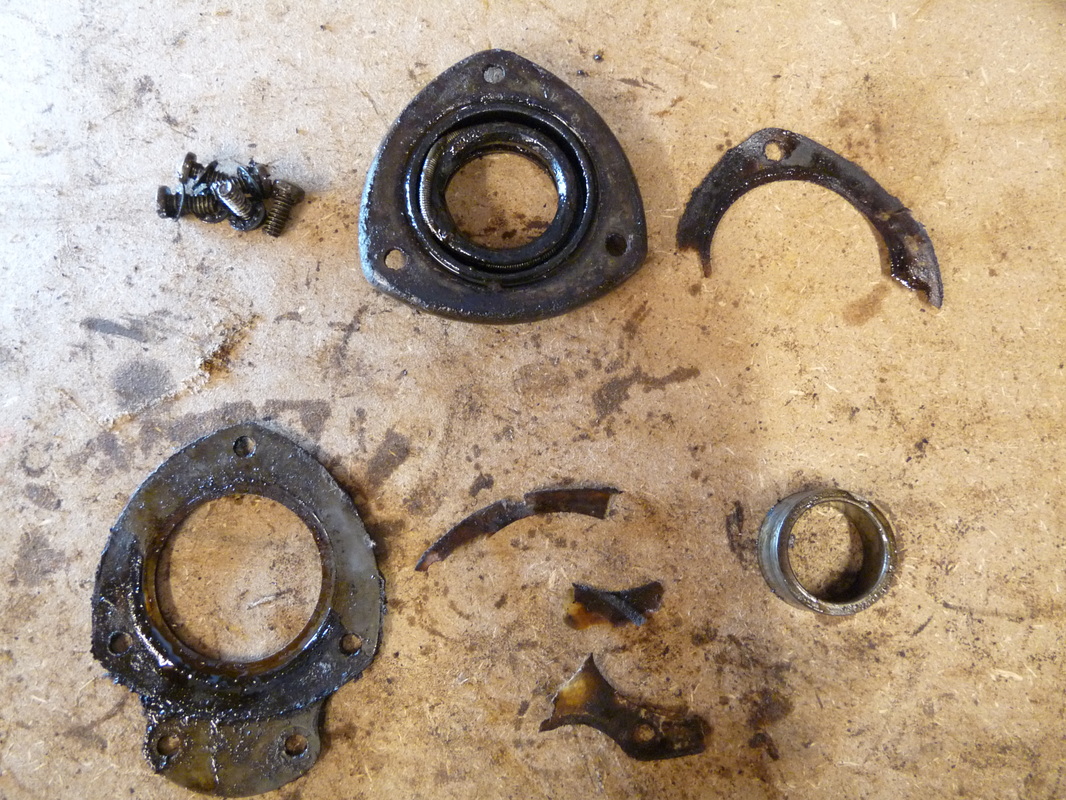
Next undo the five screws that hold the final drive oil seal assembly in place.
Then slide it off, along with the secondary plate and then the spacer.
These have paper gaskets and might need to be gently tapped with a mallet to loosen them.
Bag and label the oil seal assembly.
Then slide it off, along with the secondary plate and then the spacer.
These have paper gaskets and might need to be gently tapped with a mallet to loosen them.
Bag and label the oil seal assembly.
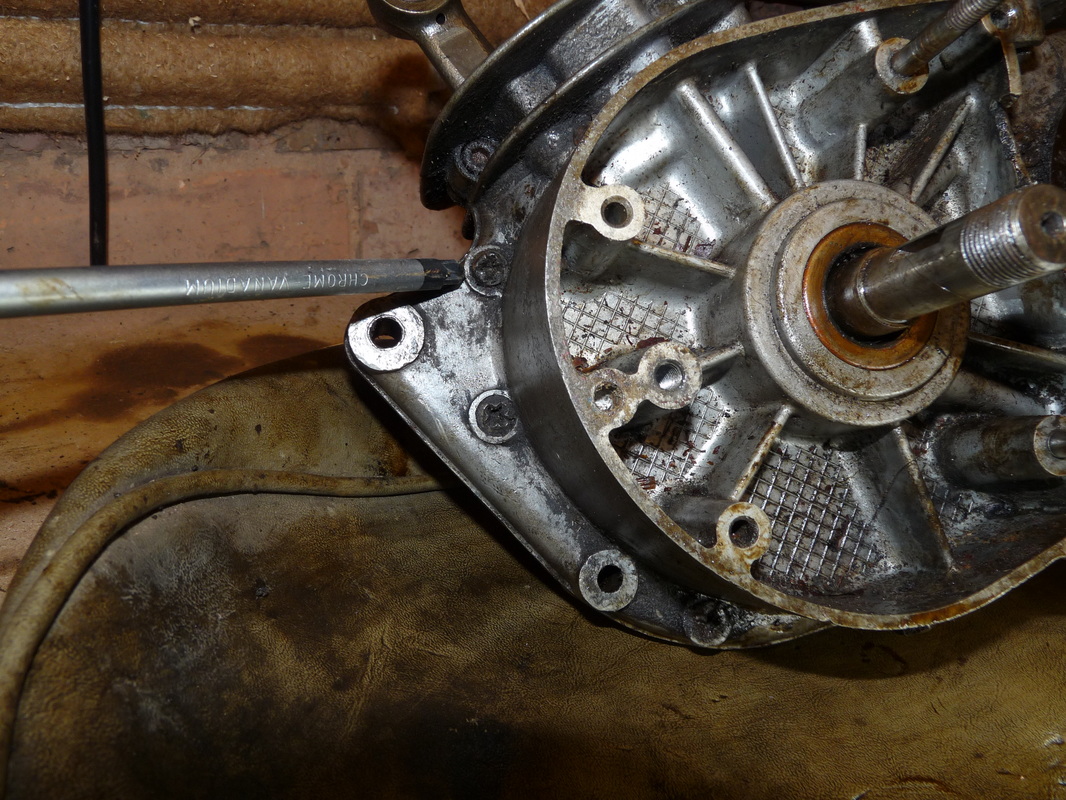
Now to undo the crankcase screws.
They are different lengths, so starting from the top left on the outside and working anti-clockwise undo and number the screws (there should be ten screws on the outside).
They are different lengths, so starting from the top left on the outside and working anti-clockwise undo and number the screws (there should be ten screws on the outside).
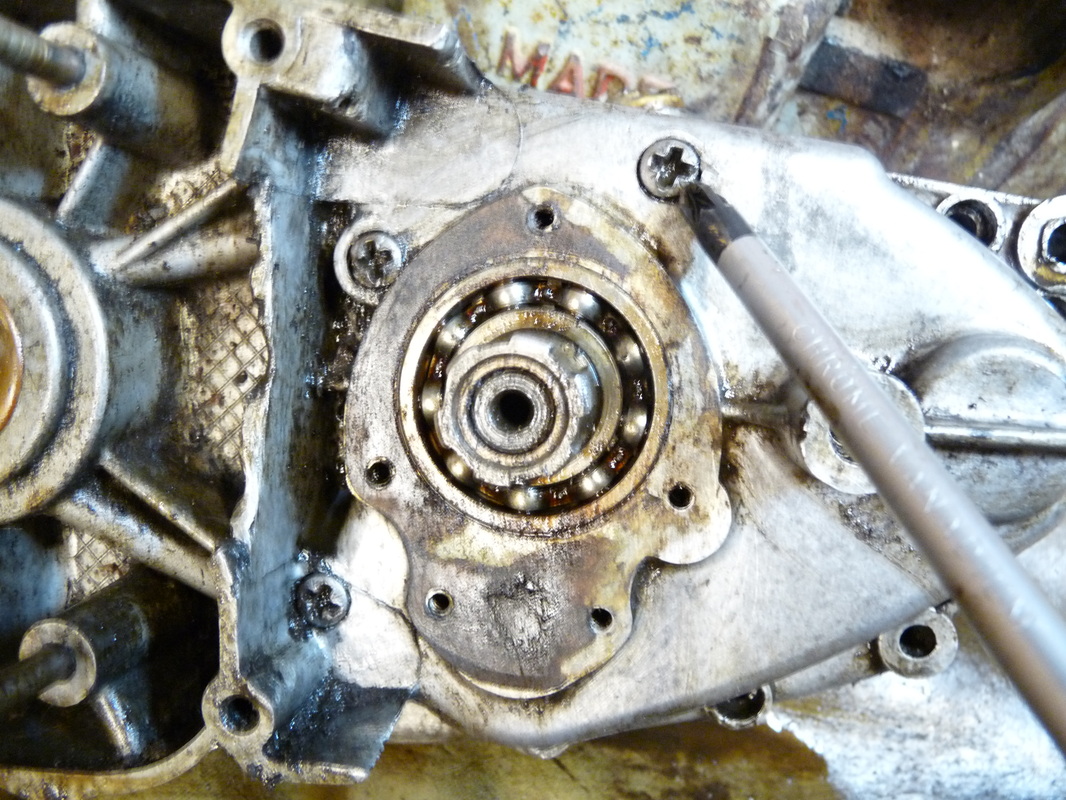
Next, starting from the top right, remove the three screws around and oil seal assembly and label them.
Bag all these screws together.
Bag all these screws together.

Now undo the two screws at the base of where the barrel attaches.
Bag and label these.
Bag and label these.
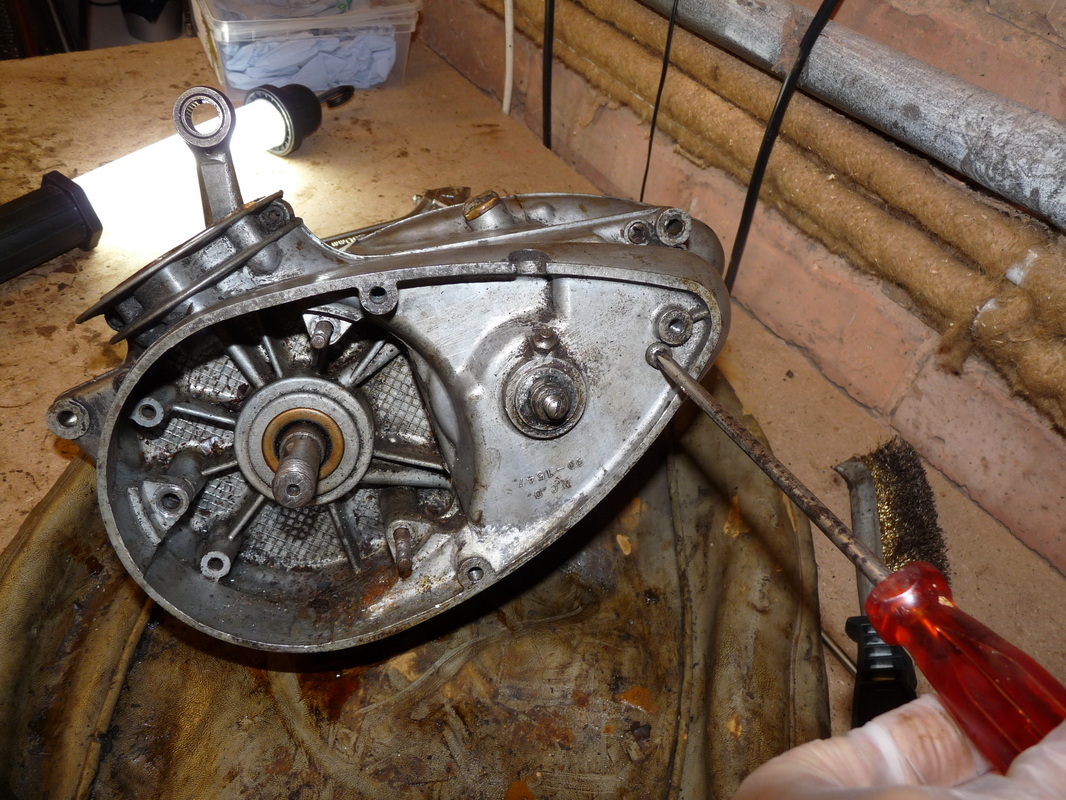
Undo the final crankcase screw that is located top center on the right hand crankcase.
Mine was crusted over with rust so, before attempting to remove it, I gave it a bit of a clean using a dremel tool and wire brush attachment.
Bag and label this.
Mine was crusted over with rust so, before attempting to remove it, I gave it a bit of a clean using a dremel tool and wire brush attachment.
Bag and label this.
Before going any further it is a good idea to double check to make sure all previous steps have been completed.
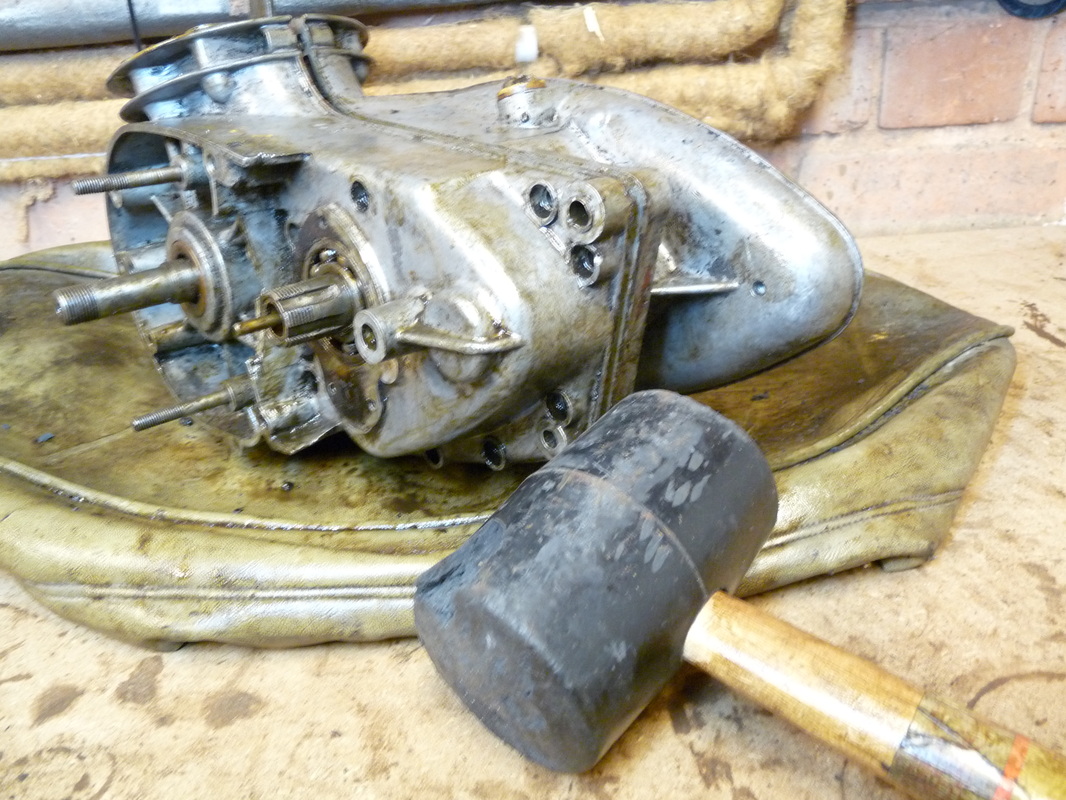
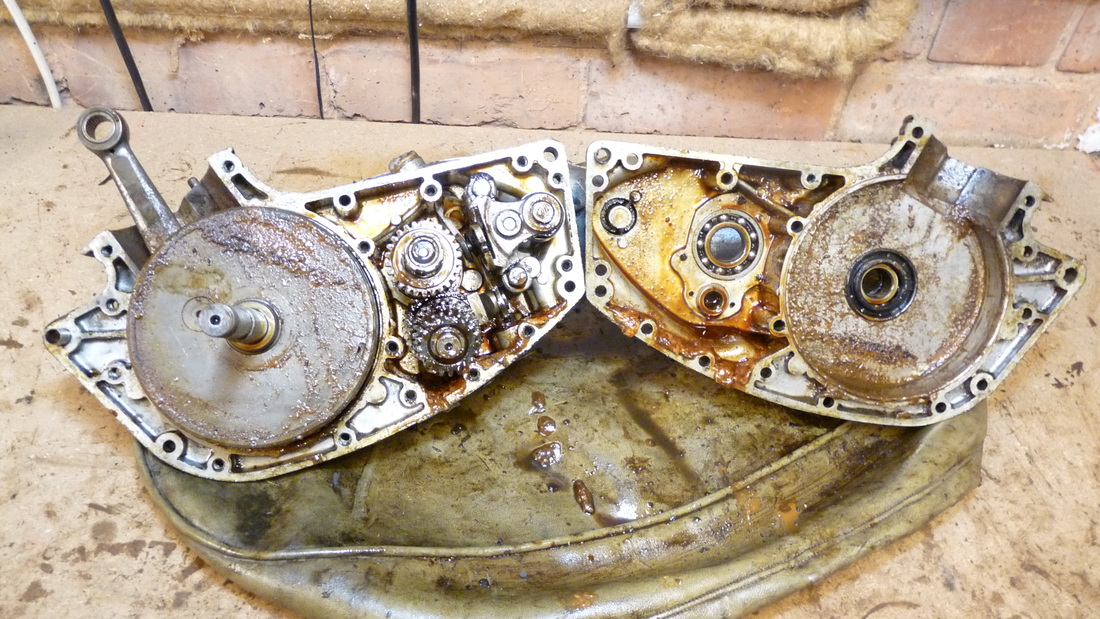
Now to split the crankcase.
You should have patience for this. Take your time, use a rubber mallet and do not prize it off.
This is actually not too difficult. I found the best way to do it was to tap the part on the right crankcase that sticks out slightly. One the seal is broken you will hear a more tin like sound (like metal on metal).
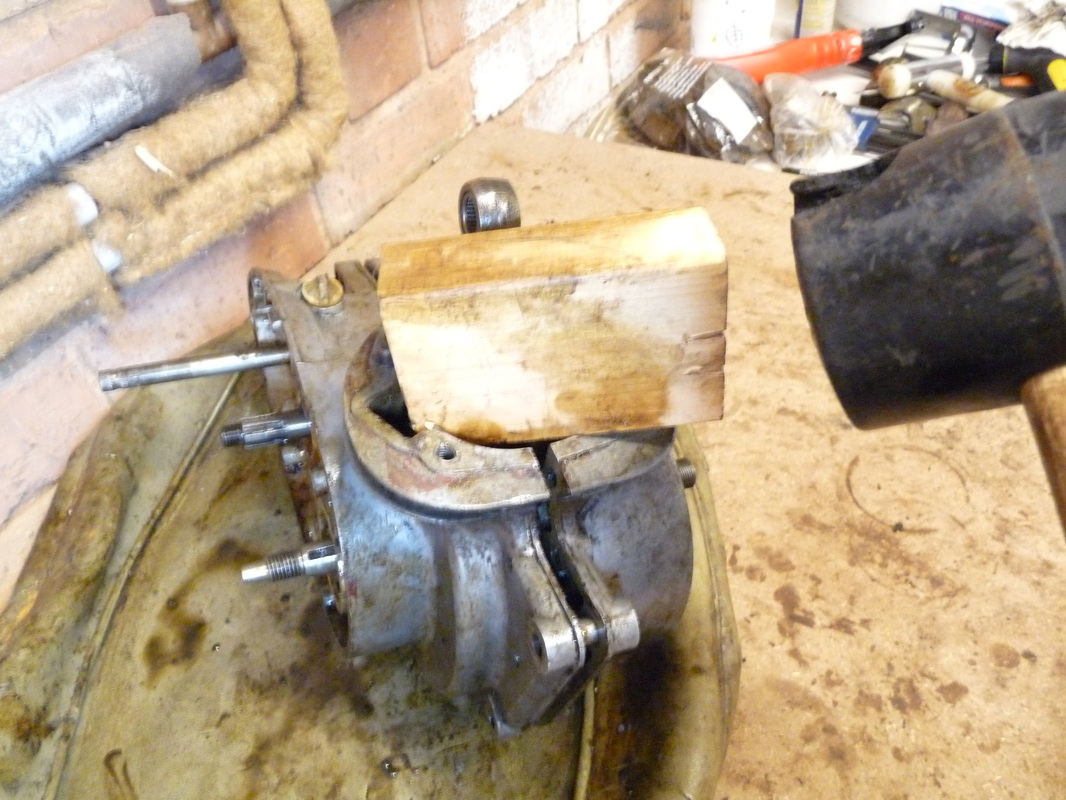
Then place a block of wood by where the barrel is mounted and tap it until you see a cap appear between both cases.
Then just wiggle it free.
You should have patience for this. Take your time, use a rubber mallet and do not prize it off.
This is actually not too difficult. I found the best way to do it was to tap the part on the right crankcase that sticks out slightly. One the seal is broken you will hear a more tin like sound (like metal on metal).
Then place a block of wood by where the barrel is mounted and tap it until you see a cap appear between both cases.
Then just wiggle it free.
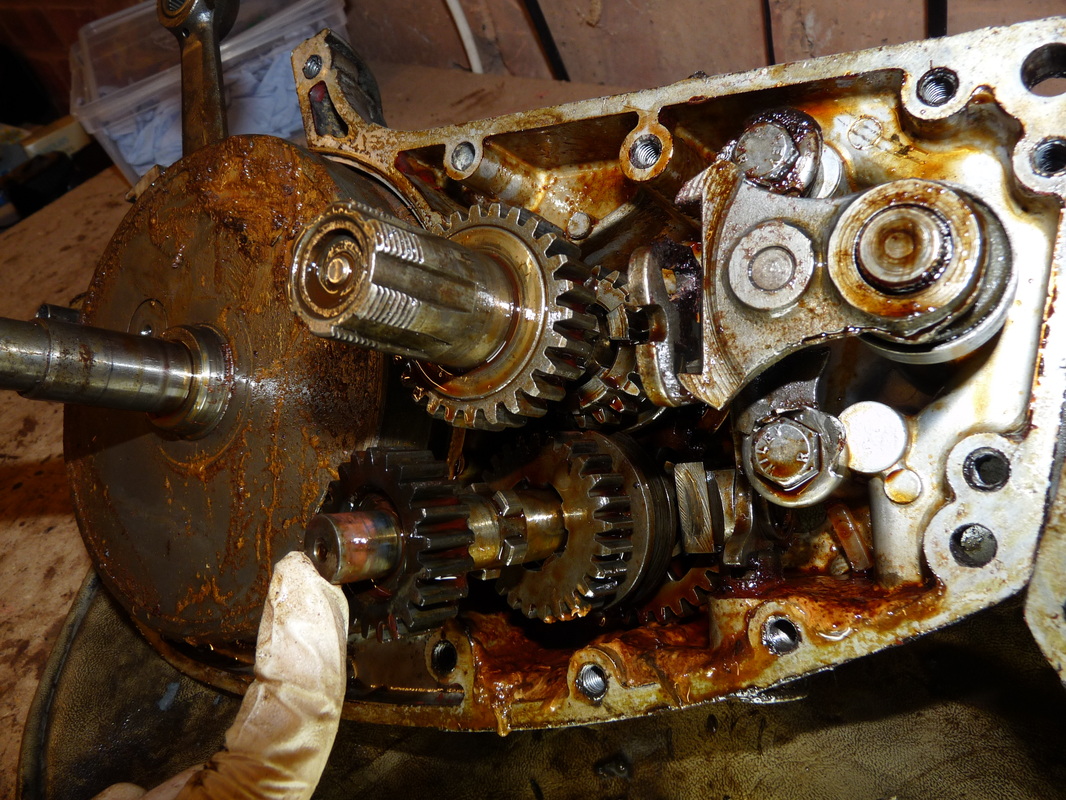
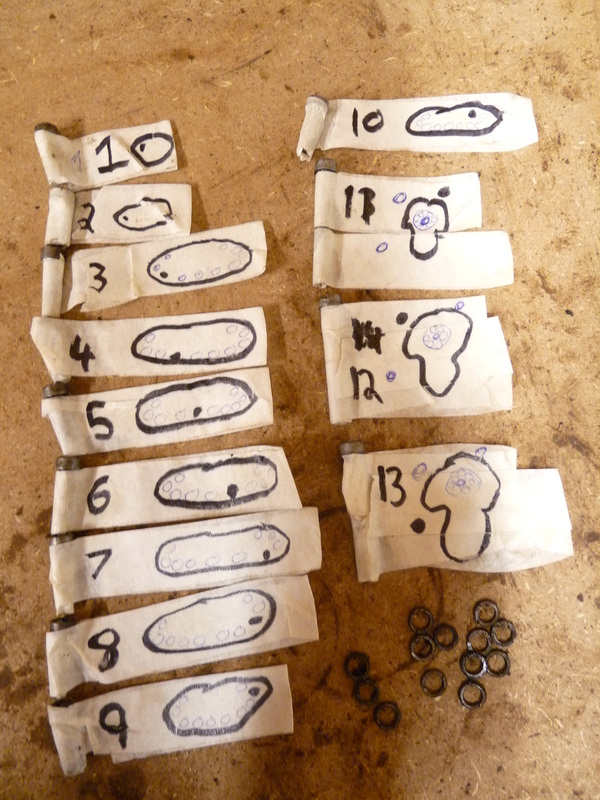
Now remove the parts from the crankcase. Order them, number them, label them, draw a diagram. Anything you have to do to remember the order they go in.
Below is a slide show of the order I removed them.
A diagram of the gearbox components can be found on page 24 of the Haynes Manuel.
Below is a slide show of the order I removed them.
A diagram of the gearbox components can be found on page 24 of the Haynes Manuel.
If you haven't done so already, remove the dip stick and put somewhere safe.
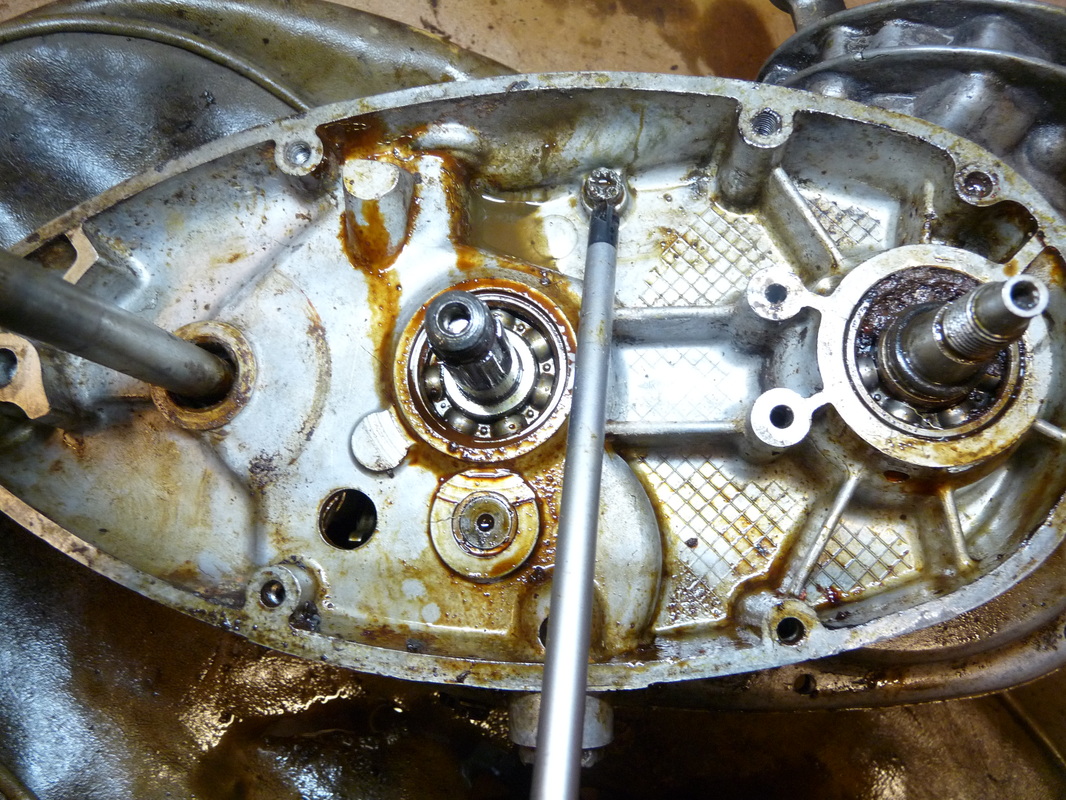
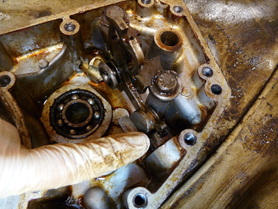
Now to remove the gear indexing mechanism.
The gear indexing mechanism hold a ball bearing and spring in place (position shown in the photo), be sure not to loose it.
Now to remove the gear indexing mechanism.
The gear indexing mechanism hold a ball bearing and spring in place (position shown in the photo), be sure not to loose it.
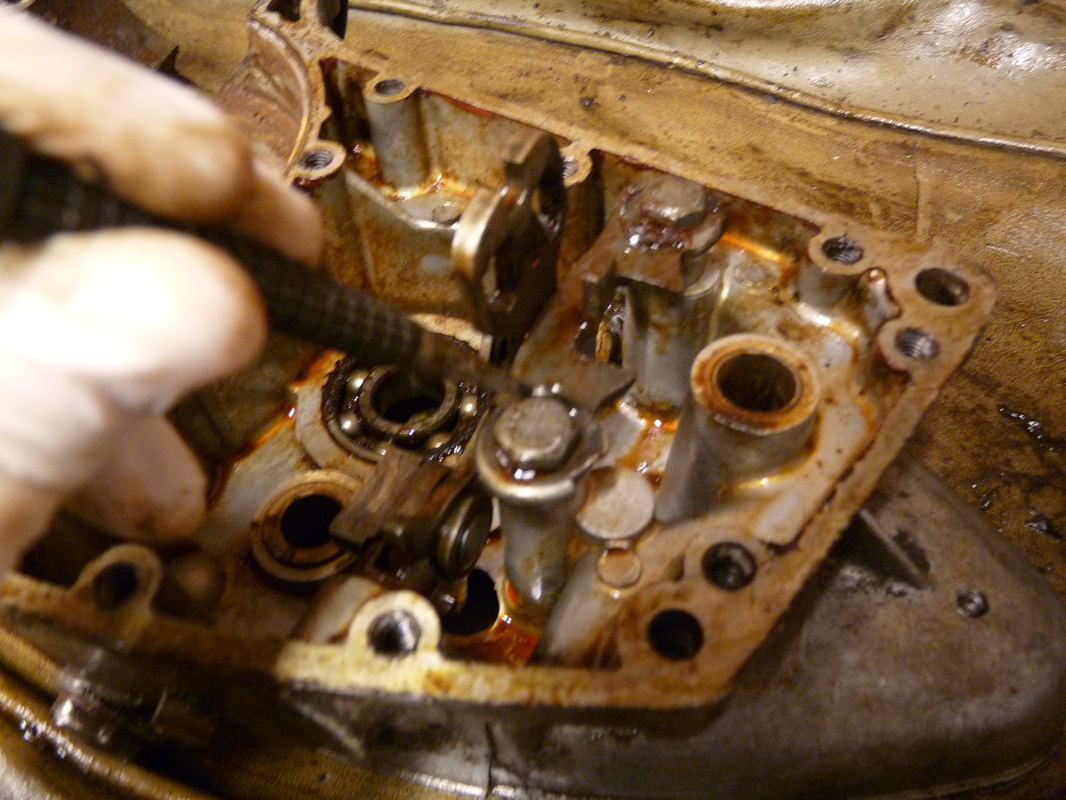
Next, using a nail punch and hammer, fold back the flaps that hold both of the gear indexing mechanism bolts in place.
Undo both the bolts and remove the gear indexing mechanism.
Also remove the ball bearing and spring.
Bag the ball bearing, spring, bolts, washers and gear indexing mechanism together.
That's it, we're done dismantling the engine. Next it give everything a good clean, but now it's time for another cup of tea.
