Removing Final Few Bits On The Frame
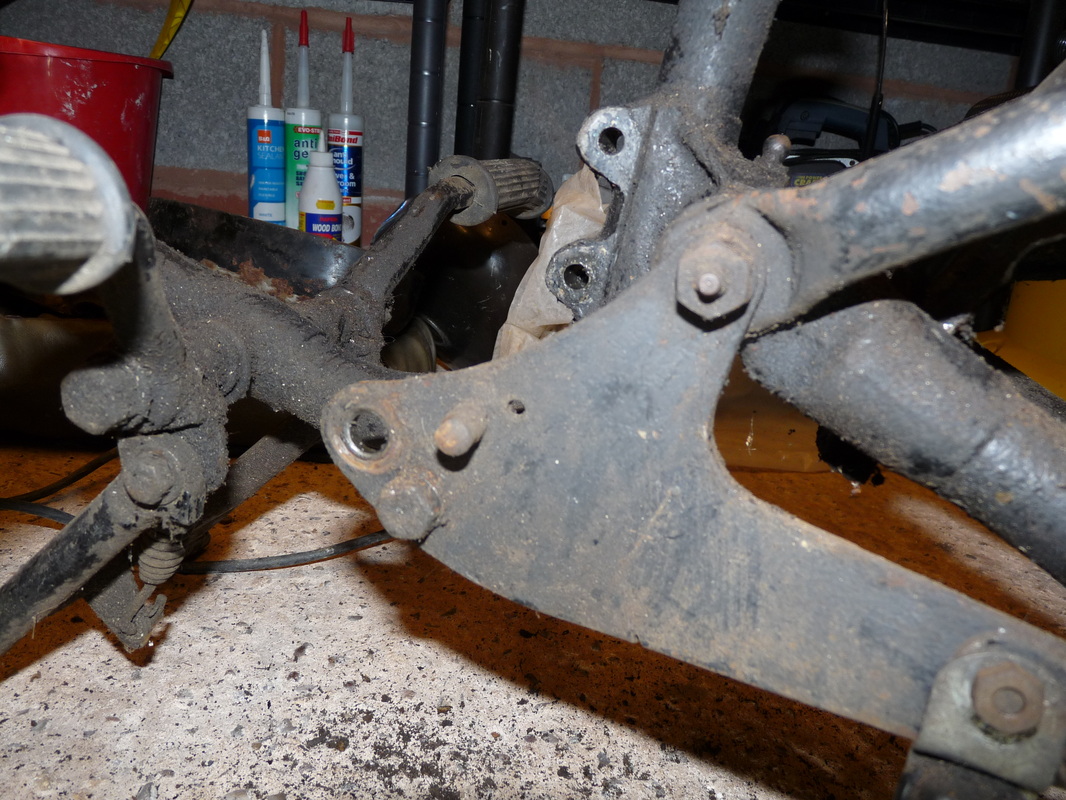
Start by removing the two bolts the hold the rear break bracket to the frame, using a 15mm socket (SAE size 19/32)
Bag and label the bolts and the spacer.
Put the rear break bracket, along with the rear break light switch and foot rest, to one side.
Bag and label the bolts and the spacer.
Put the rear break bracket, along with the rear break light switch and foot rest, to one side.
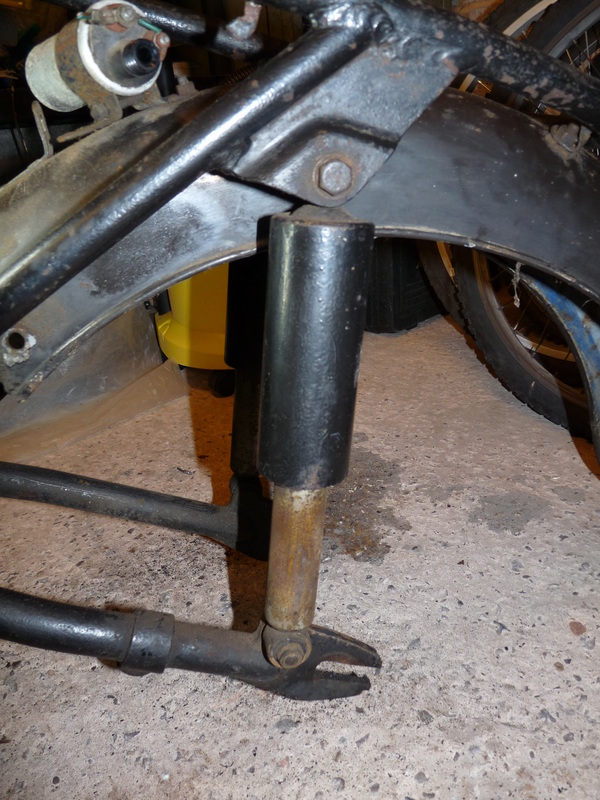
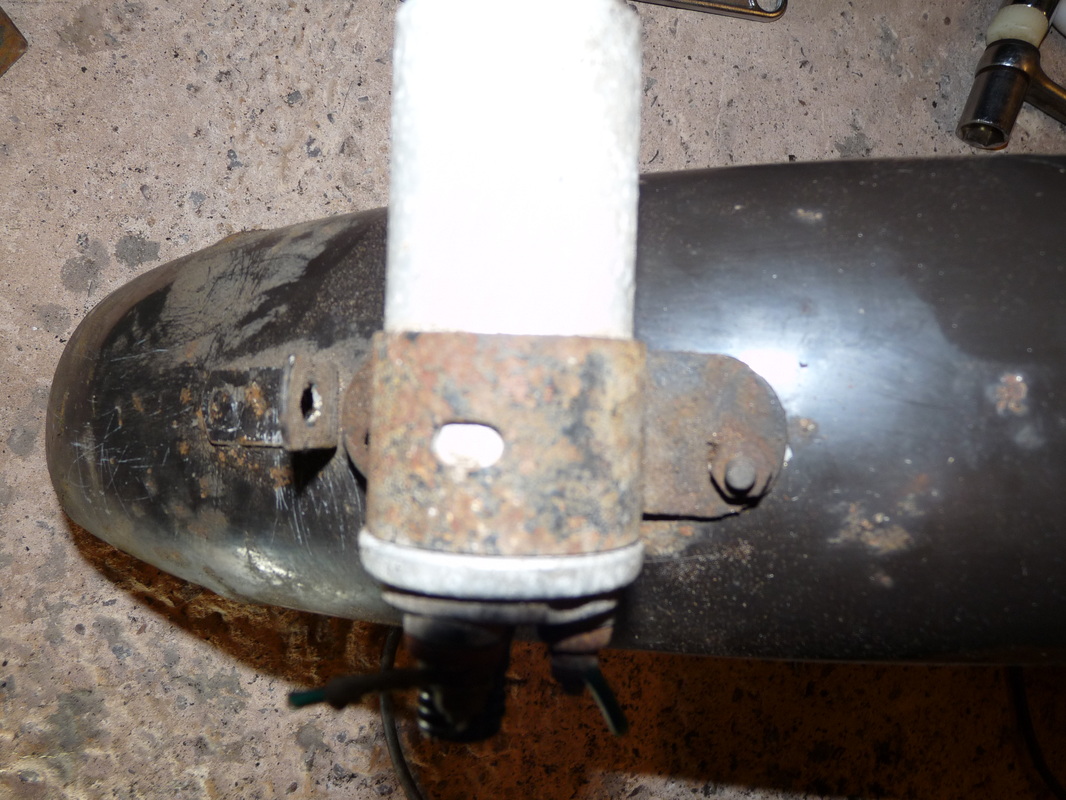
Next to remove the rear suspension units.
Simply undo the bolts that hold it to the frame.
The suspension unit may need gently tapping with a rubber mallet to free it.
Put the bolts in a bag and the suspension unit to one side.
Do the same for the other side also.
Simply undo the bolts that hold it to the frame.
The suspension unit may need gently tapping with a rubber mallet to free it.
Put the bolts in a bag and the suspension unit to one side.
Do the same for the other side also.
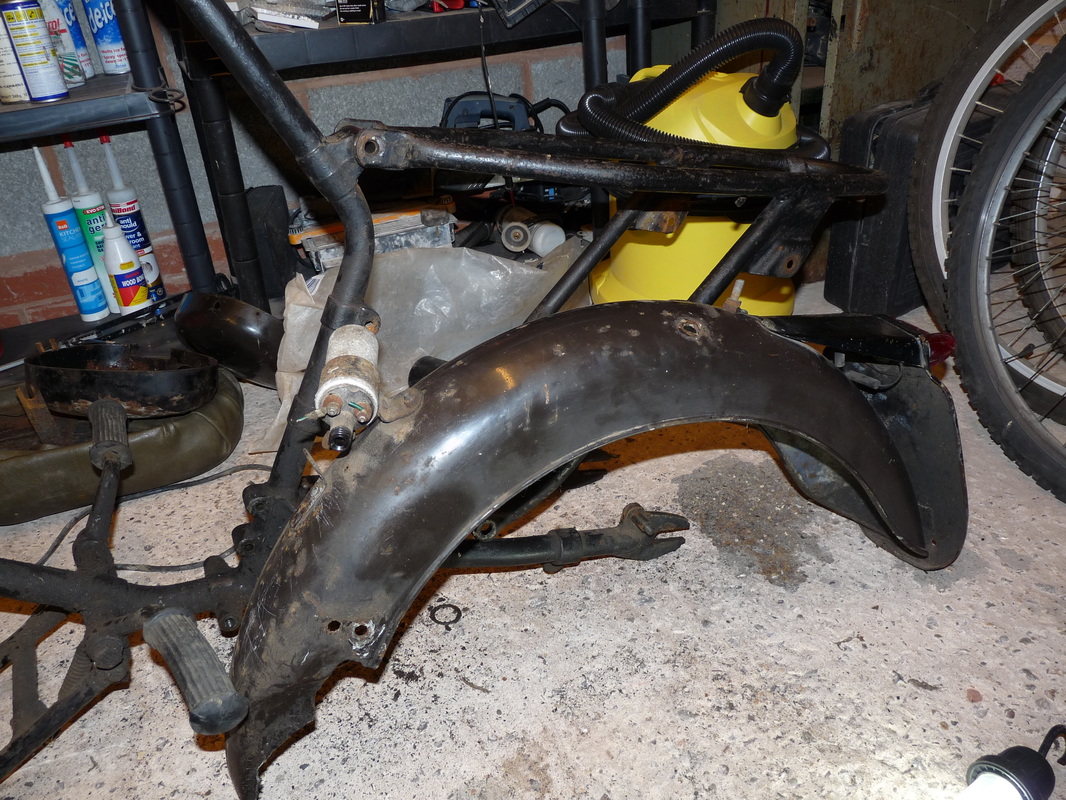
Now tilt the frame on it's side to gain easy access to the underside of the rear mud guard.
Undo the four bolts that hold the mud guard to the frame.
Bag the bolts.
The mud guard should now slide free.
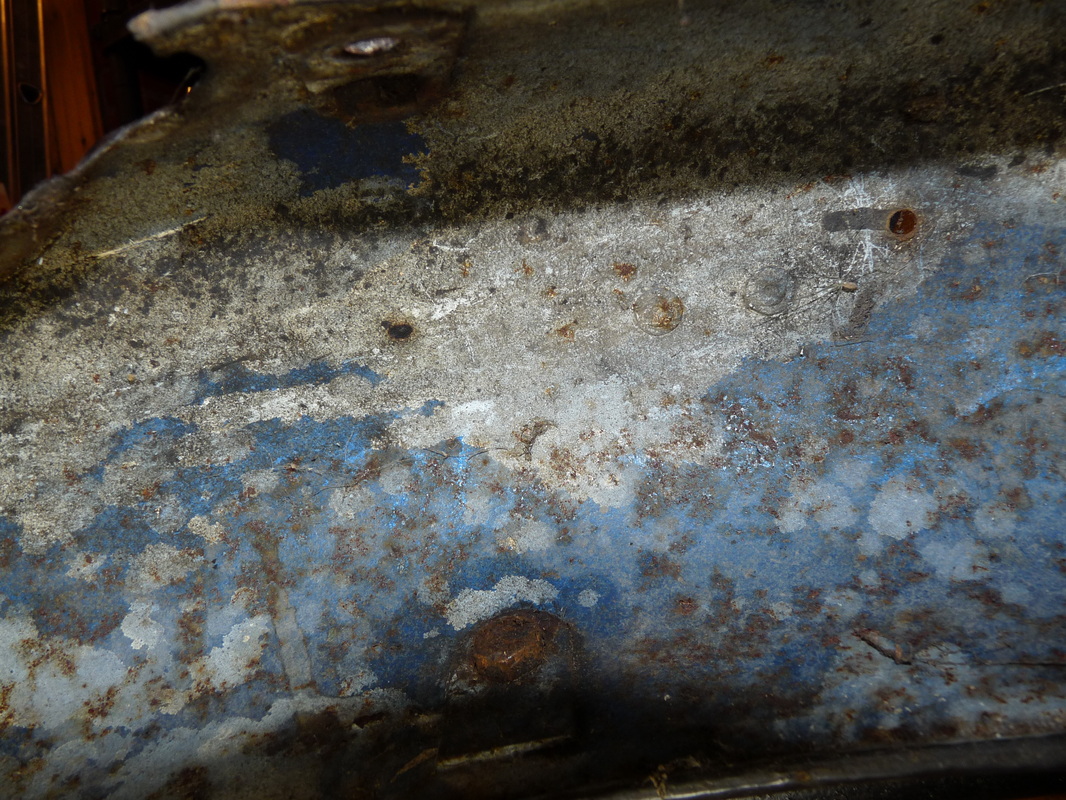
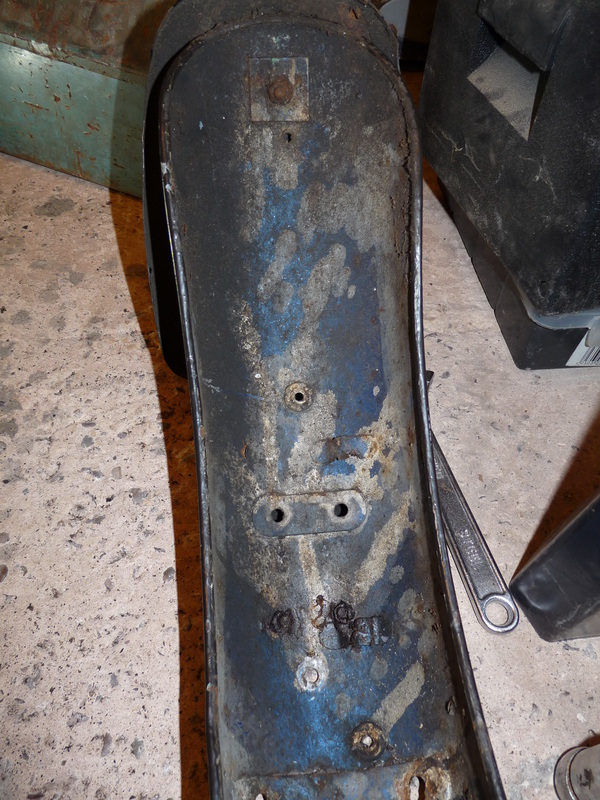
You can see some more of the original dark blue paint in this photograph.
Undo the four bolts that hold the mud guard to the frame.
Bag the bolts.
The mud guard should now slide free.
You can see some more of the original dark blue paint in this photograph.
Next, remove the ignition coil bracket from the rear mud guard my removing the the two screws (one is missing on mine).
Loosen the screw that helps clamp the ignition coil into the bracket and slide it out.
Put the bracket in a bag and label it.
There should also be another screw that I think is to hold the seat in place. this was missing on mine so if you haven't done already remove this and/or the seat.
Loosen the screw that helps clamp the ignition coil into the bracket and slide it out.
Put the bracket in a bag and label it.
There should also be another screw that I think is to hold the seat in place. this was missing on mine so if you haven't done already remove this and/or the seat.
Now remove the three bolts that hold the rear break light and number plate to the mud guard, using a 12mm socket (SAE size 15/32)
Put them both aside and we're done with the rear mud guard.
Put them both aside and we're done with the rear mud guard.
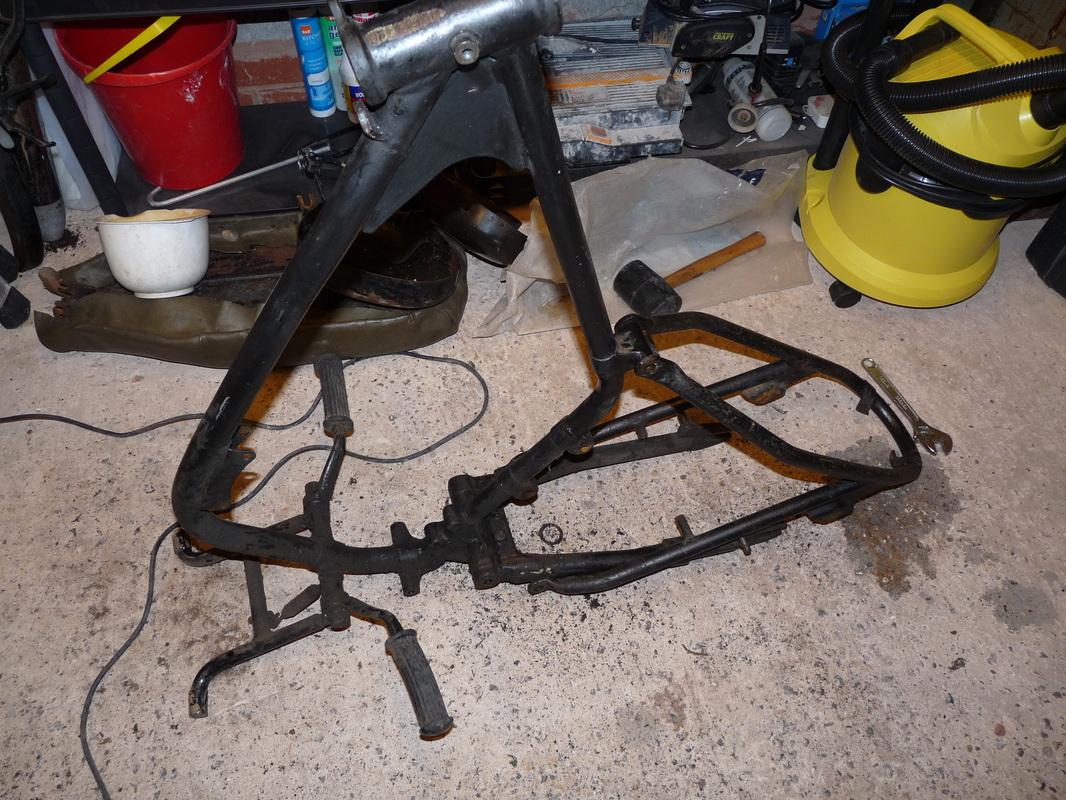
Now to return our attention back to the frame. The frame consists of 3 parts, the main frame where the engine attaches to, the sub frame where the seat is and the swinging arm where the back wheel connects to.
We're going to remove the center stand and foot rests from the frame and then we're done.
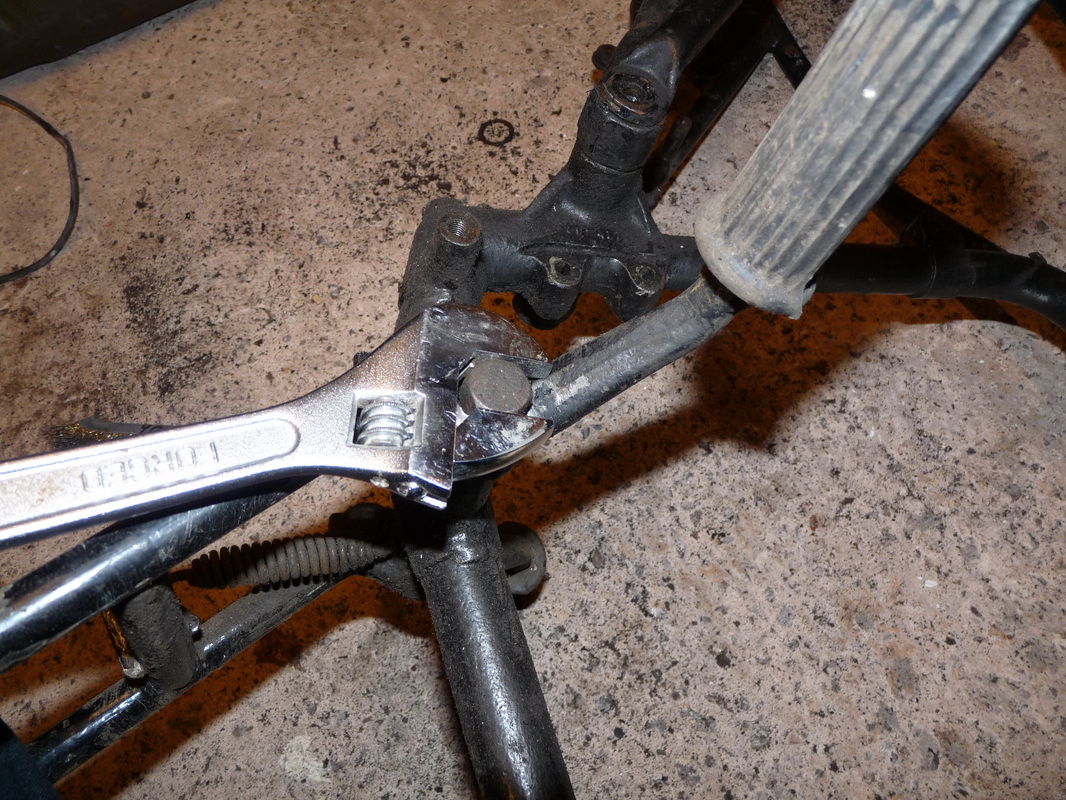
Start by undoing the bolt that holds the footrest to the frame on the right hand side. I gave the bolt a good brushing with a wire brush first to remove some of the filth.
Start by undoing the bolt that holds the footrest to the frame on the right hand side. I gave the bolt a good brushing with a wire brush first to remove some of the filth.
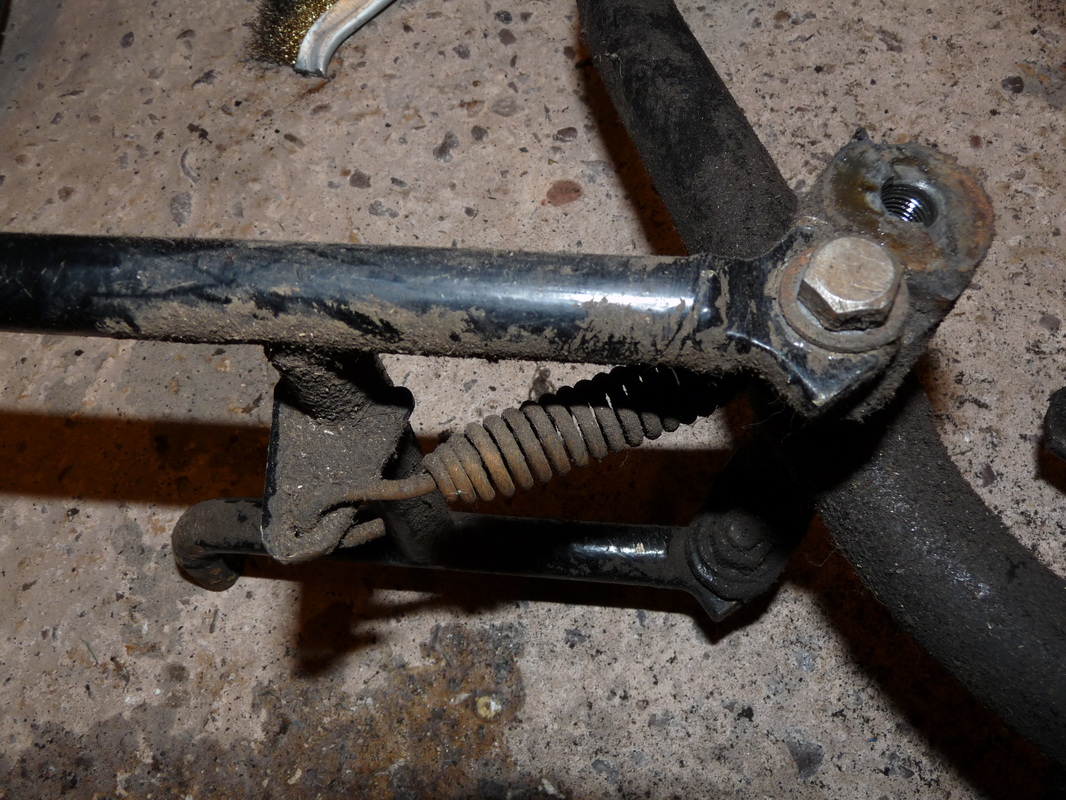
Remove the two bolts that hold the center stand to the frame.
Bag them up along with the spring and out the center stand to one side.
Bag them up along with the spring and out the center stand to one side.
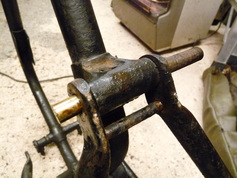
Next remove the bush that holds the sub frame to the frame.
You will have to drift this out. This wasn't to difficult on mine, I used a small socket and some WD 40.
You will have to drift this out. This wasn't to difficult on mine, I used a small socket and some WD 40.
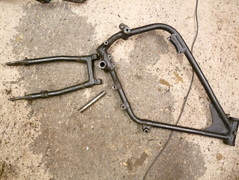
Finally to remove the swing arm pivot pin. This is going to be a tough one. It's press fit into the frame.
I went down to the local garage, ask the man if he had a hydraulic press and if he would press the pin out for me.
I smiled nicely and he did it for FREE!
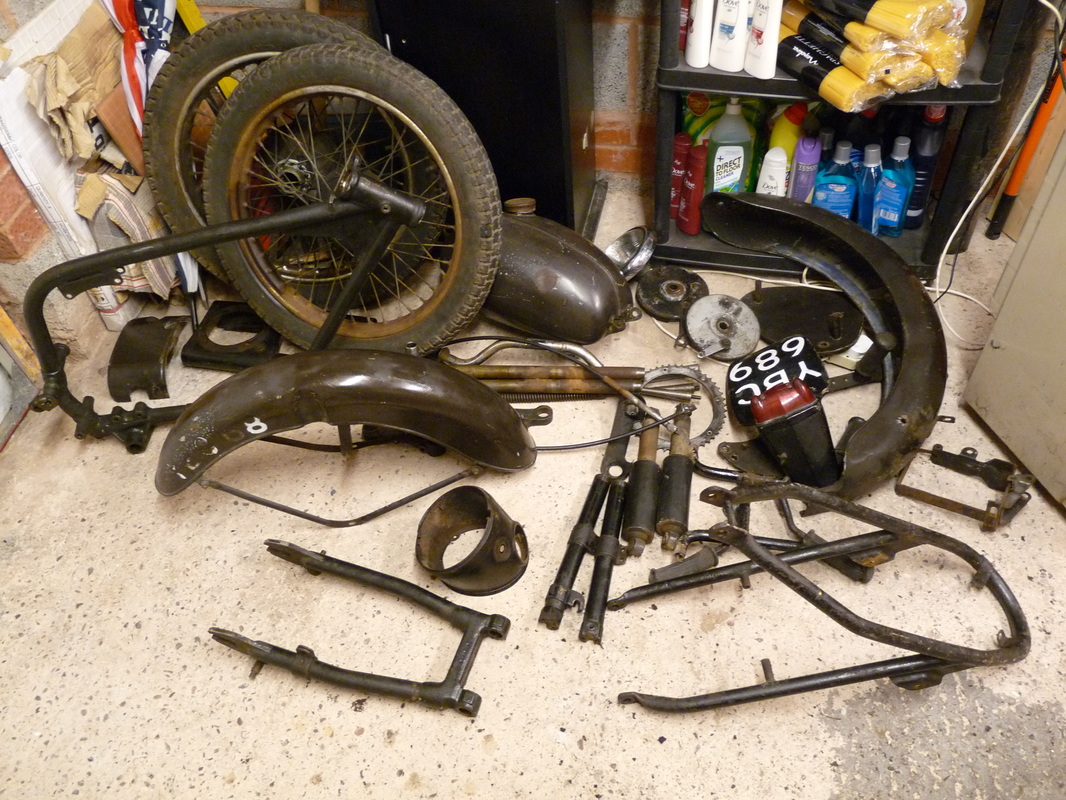
You should, hopefully, have a completely dismantled motorcycle on your garage floor.
I went down to the local garage, ask the man if he had a hydraulic press and if he would press the pin out for me.
I smiled nicely and he did it for FREE!
You should, hopefully, have a completely dismantled motorcycle on your garage floor.